Photographers Guide to Tokyo
From the moment you leave the confines of your hotel and step out onto the streets of Japan; you’re overwhelmed by an array of dazzling lights, animated billboards, noises and the alluring aroma of different delicious foods. This is the photographers guide to Tokyo. The capital of Japan; a bustling metropolis with a population of almost 14 million people. It’s a city full of activity, and a photographers paradise.
The majority of the photos in this photographers guide to Tokyo were taken around Shinjuku (新宿). One of the 23 city wards in Tokyo. However it’s name commonly refers to the entertainment, business and shopping areas around Shinjuku Station; the worlds busiest railway station handling more than 2 million passengers each day.
Getting to Shinjuku from Narita Airport
There are a number of ways you can get to Shinjuku from Narita. The fastest way is to take the Kinsei Skyliner; a limited express airport train that operates from Narita to Tokyo. The trip itself takes approximately one hour and you’ll need to transfer at Nippori onto the JR Yamanote Line. This option will cost you ¥2,670 for a one way trip (approx. AUD$32).
If you’re looking to save some money, the regular Kinsei line is an option. You’ll still need to make the same transfer at Nippori, but the trip will only cost you ¥1,230 (approx. AUD$15). This line does get absolutely jam-packed during rush hour and if this is your first trip to Tokyo, you might be better off spending a few extra dollars and getting a more comfortable experience. Especially if you’re carting around your photography gear.
There are two other ways you can get to Shinjuku. They are slightly more expensive than the previous options but I prefer these from a comfort and convenience perspective. You can take the Narita Express (N’EX) train that goes directly from Narita to Shinjuku Station. No transfers required. The cost is slightly higher at ¥4,000 (approx. AUD$47) and the trip will take you 90 minutes, but the ride is quite comfortable, there’s more space, and you don’t need to worry about transfers while you’re jet-lagged after your flight.
Lastly, you can take the airport limousine bus. You can pick your tickets up from the limousine bus ticket desk on the lower floor of the airport after clearing customs. The ticket price is almost the same as the Narita Express ticket, but the benefit is that the limousine bus will drop you directly at your hotel door (depending on hotel); particularly useful if you have excess baggage or camera equipment you want to transport.
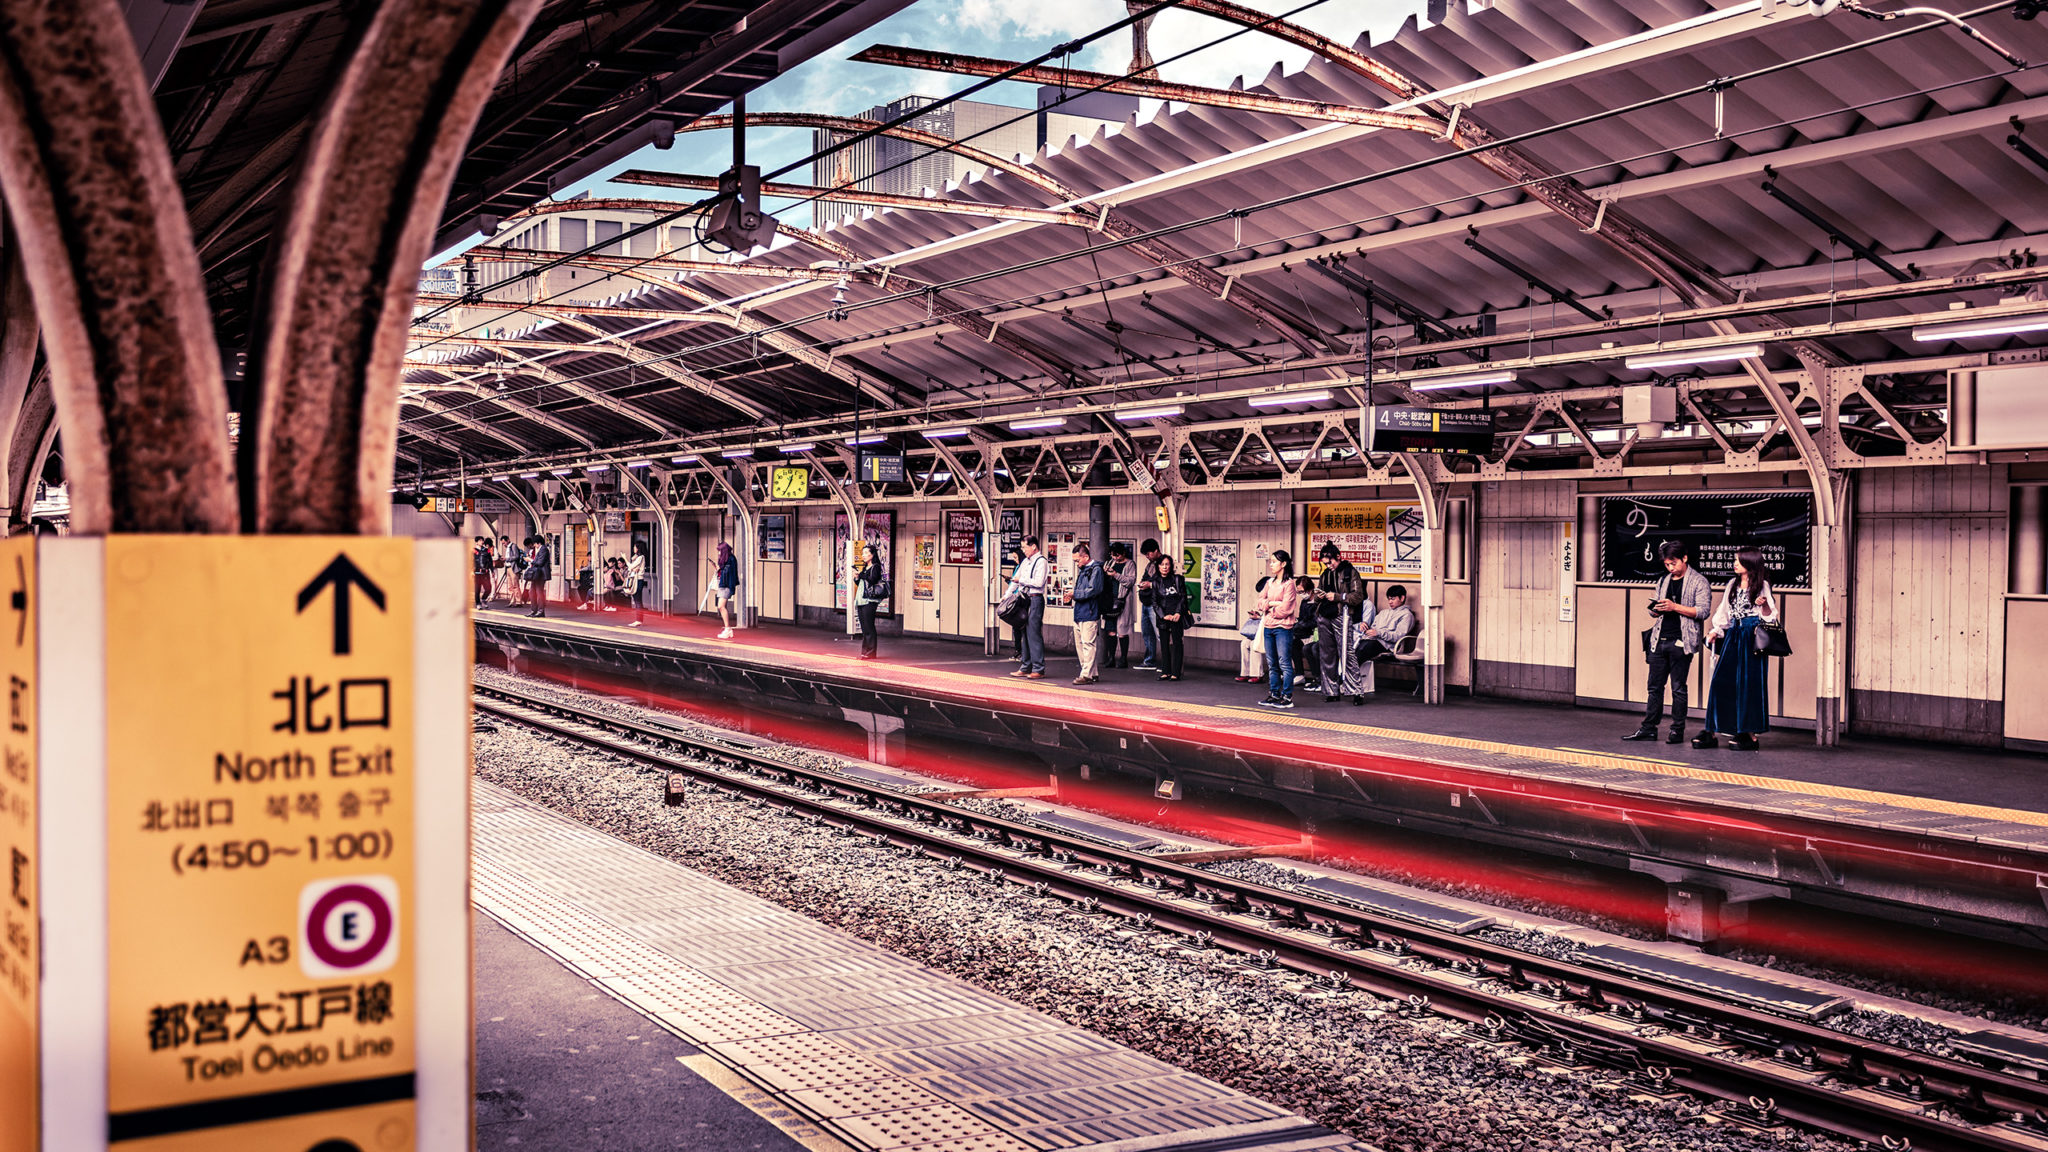
One of the many Train Stations you’ll be visiting during your trip to Japan.
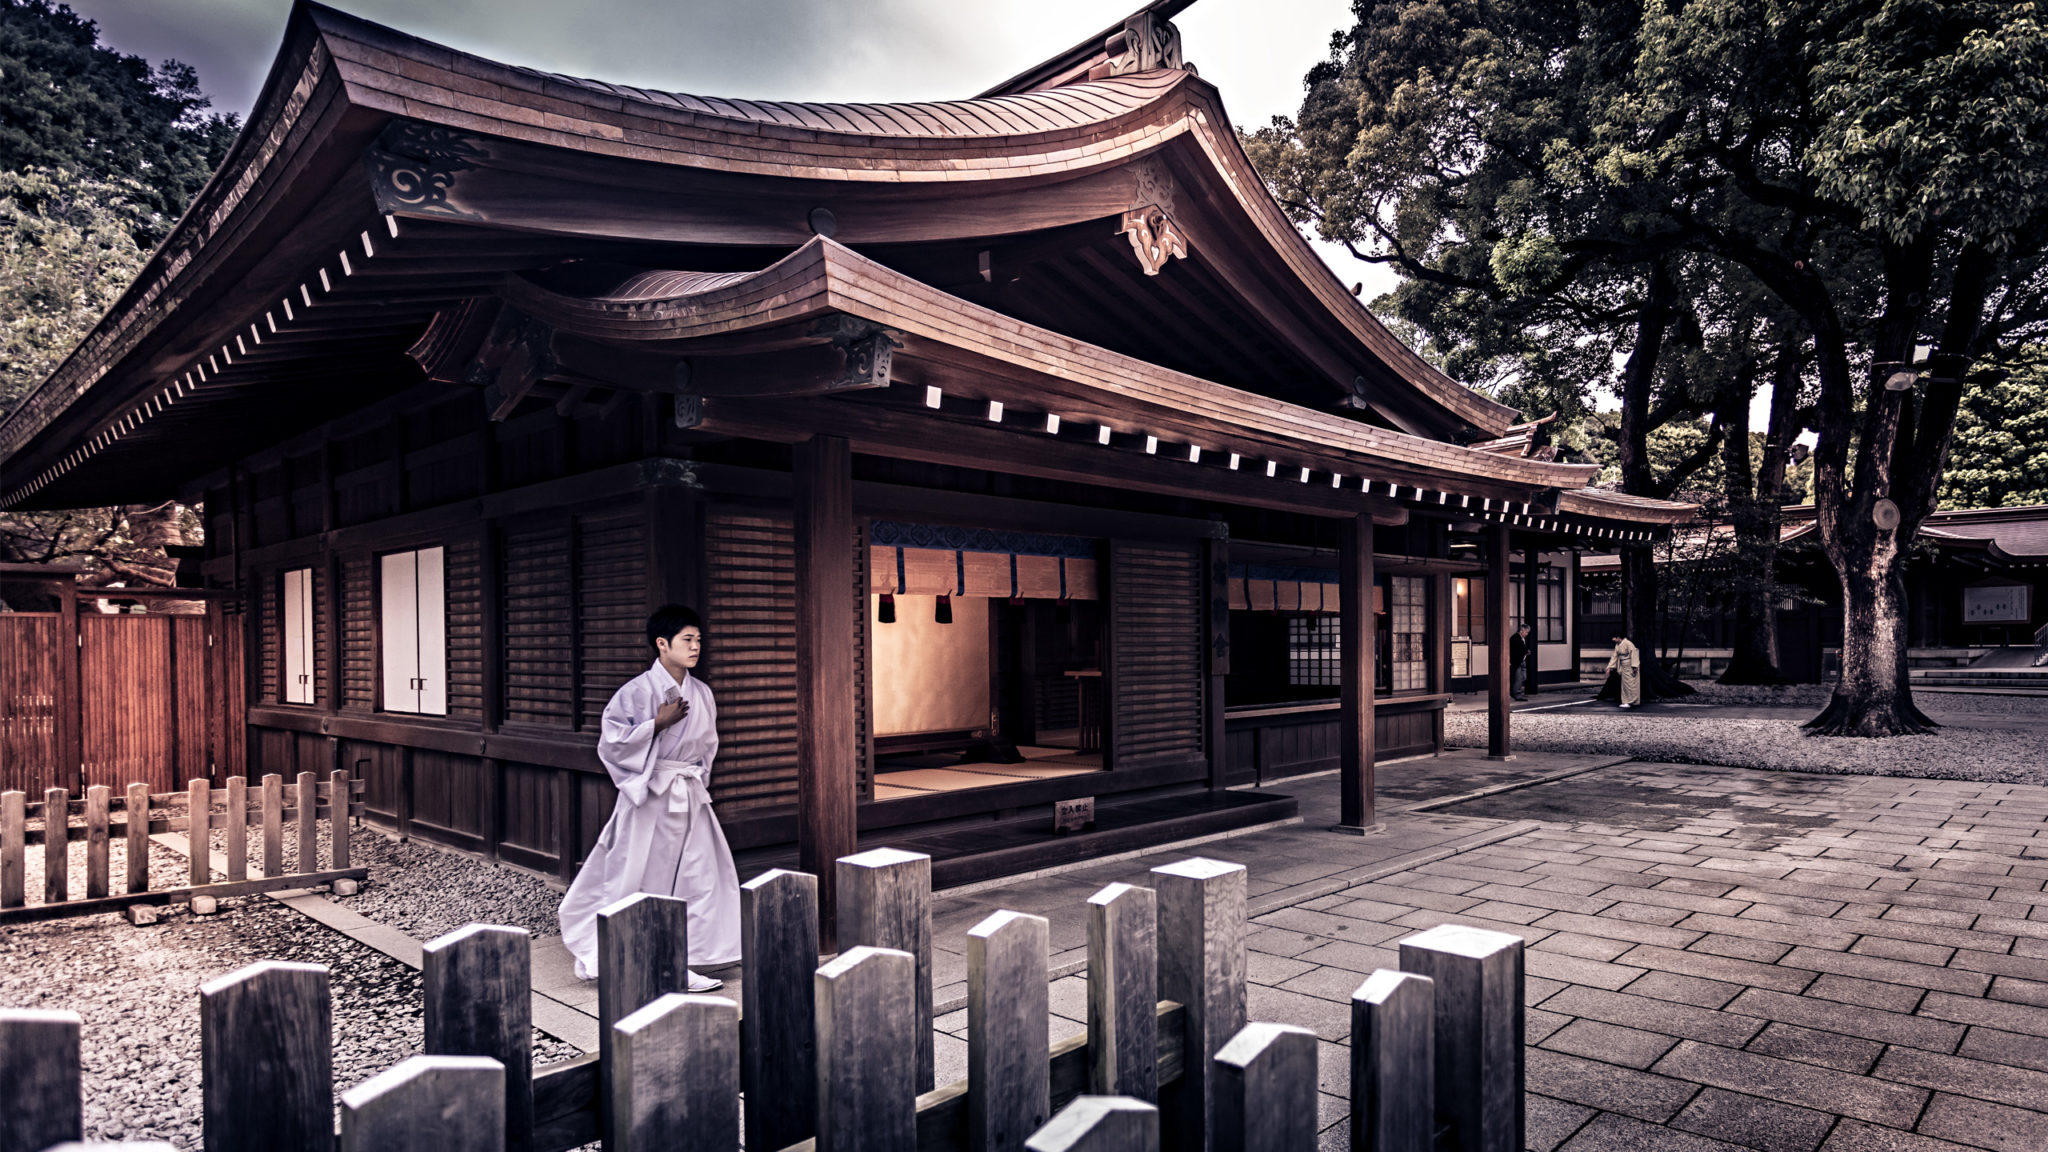
Time it right, and you might catch a traditional Japanese wedding at the Meiji Shrine
Accomodation in Shinjuku
Look on any of the accommodation booking sites or any other photographers guide to Tokyo and you’ll see that there is no shortage of options for your trip to Japan. You might want to consider booking in advance during the busier seasons as some of the nicer options tend to sell out quite quickly. One option I would definitely recommend if you’re staying in the Shinjuku area is the Hotel Sunroute Plaza Shinjuku. It’s only a few minutes walk to Shinjuku station and positioned very close to major shopping and food areas. The airport limousine bus also stops at Hotel Plaza Shinjuku which is an added bonus. The hotel reception staff were nice enough to let us leave our equipment securely at the hotel even after checking out which means we were able to walk around and enjoy the city without having to carry everything with us.
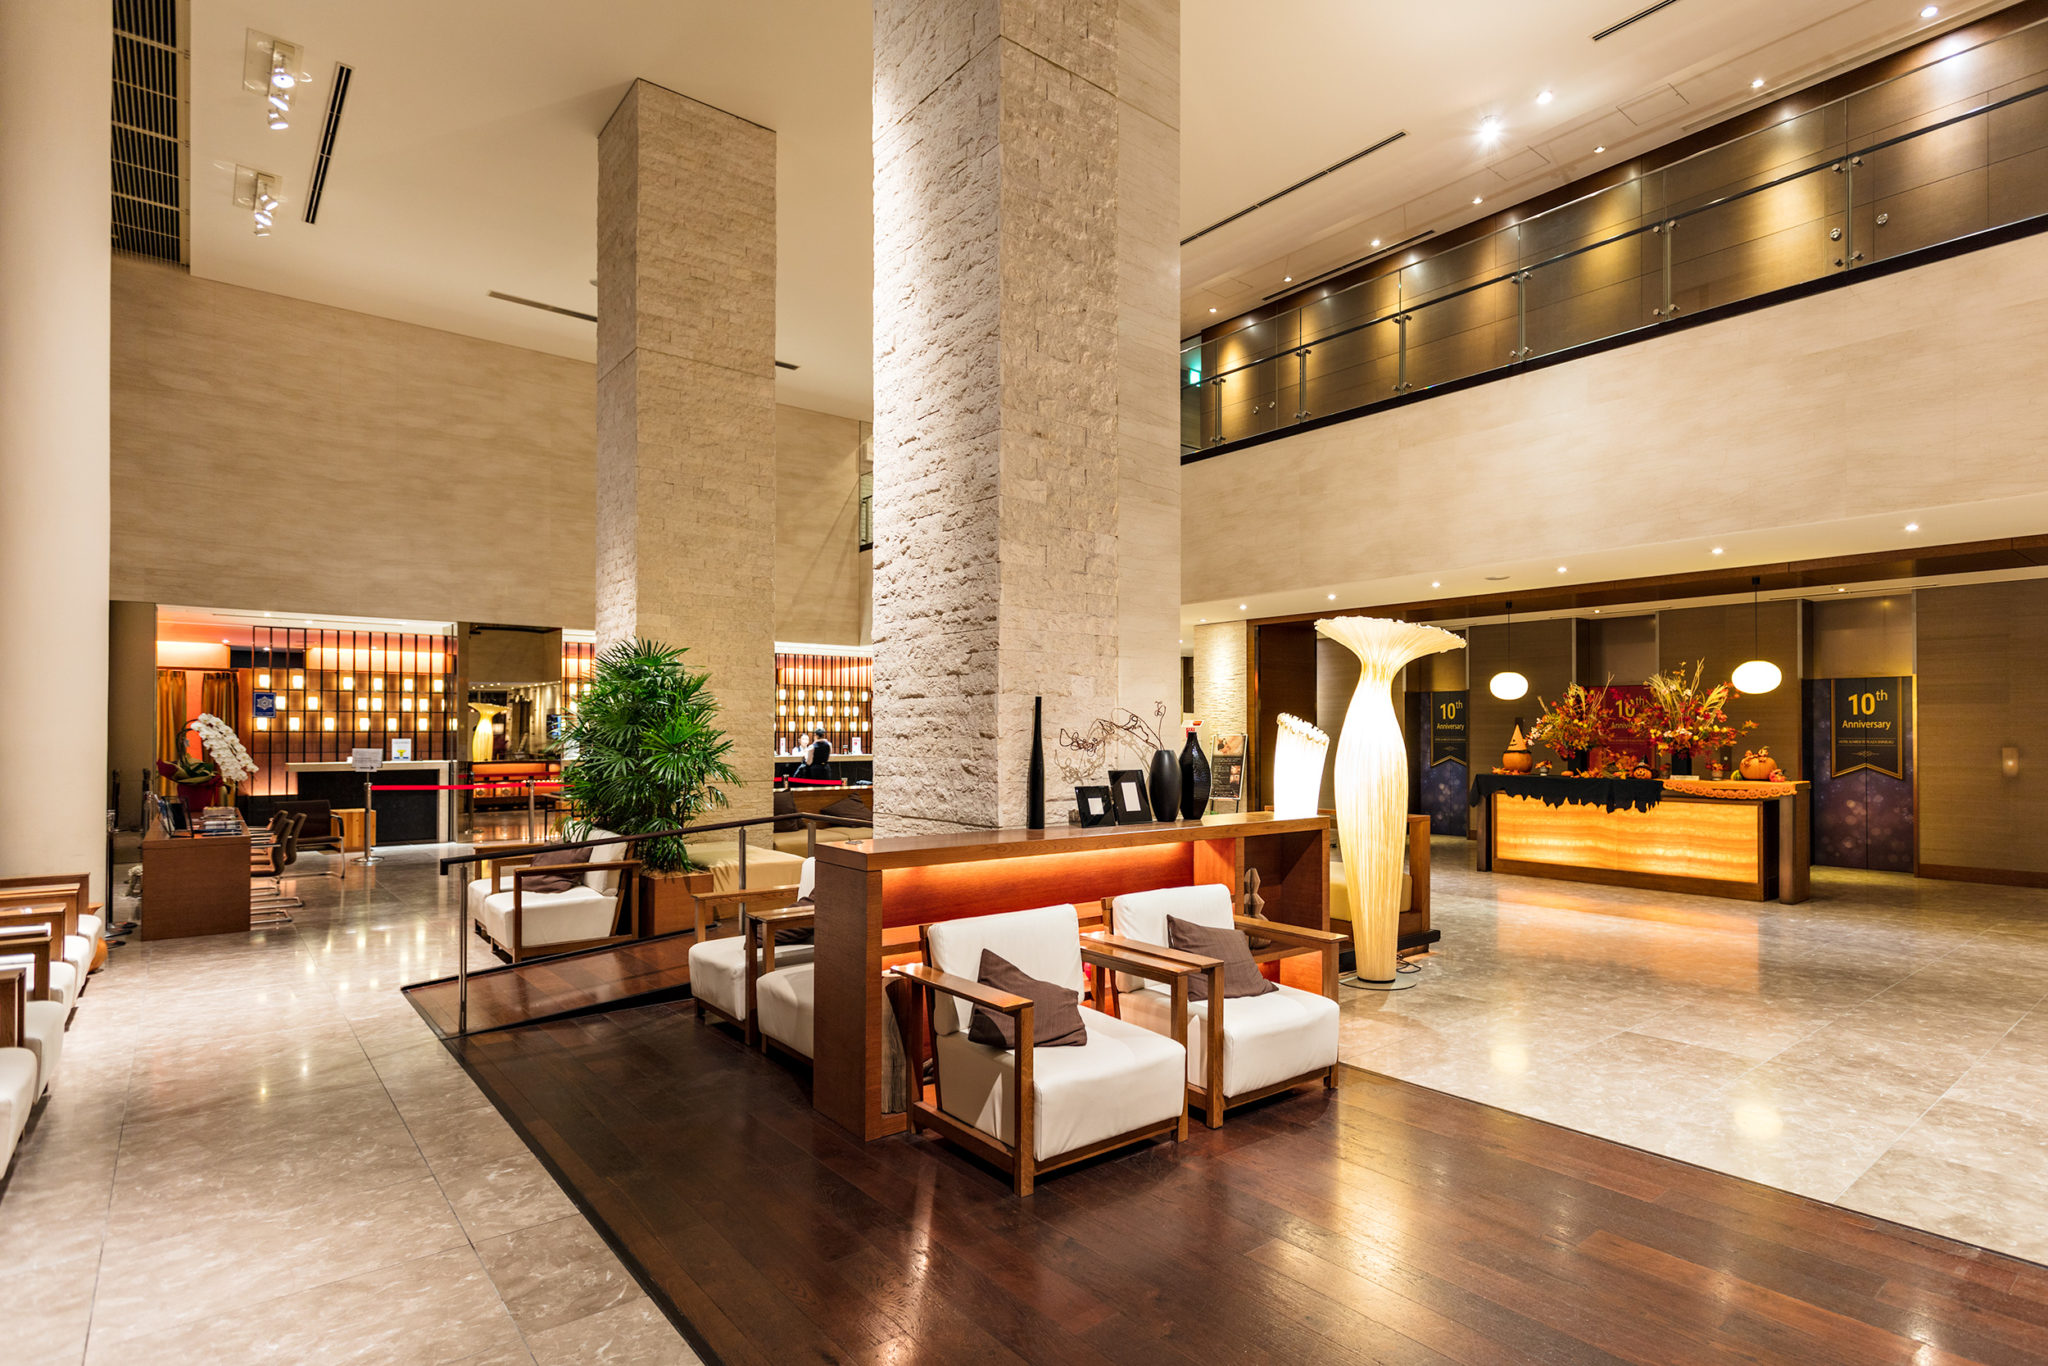
The friendly staff at Hotel Sunroute Plaza Shinjuku are always happy to help.
Is Airbnb still an option in Japan?
Airbnb is still an option, although as of recently – the Japanese government has made it even more restrictive for strangers to stay in guest houses. This means that home sharing will be limited to 180 days per year. You’ll still find plenty of options on Airbnb, but you may be faced with signs in elevators and lobbies that clearly state Airbnb guests are not welcome. I found this a little uncomfortable and somewhat unwelcoming, but as long as you are respectful and quiet – you shouldn’t have any issues at all. There are some beautiful properties around Yoyogi Park (代々木公園) that are very convenient for the traveling photographer. Although located in the Shibuya district, you’re only a short train ride away from Shinjuku and on the door step of Yoyogi Park, a sprawling, lush, scenic park in the middle of Tokyo.
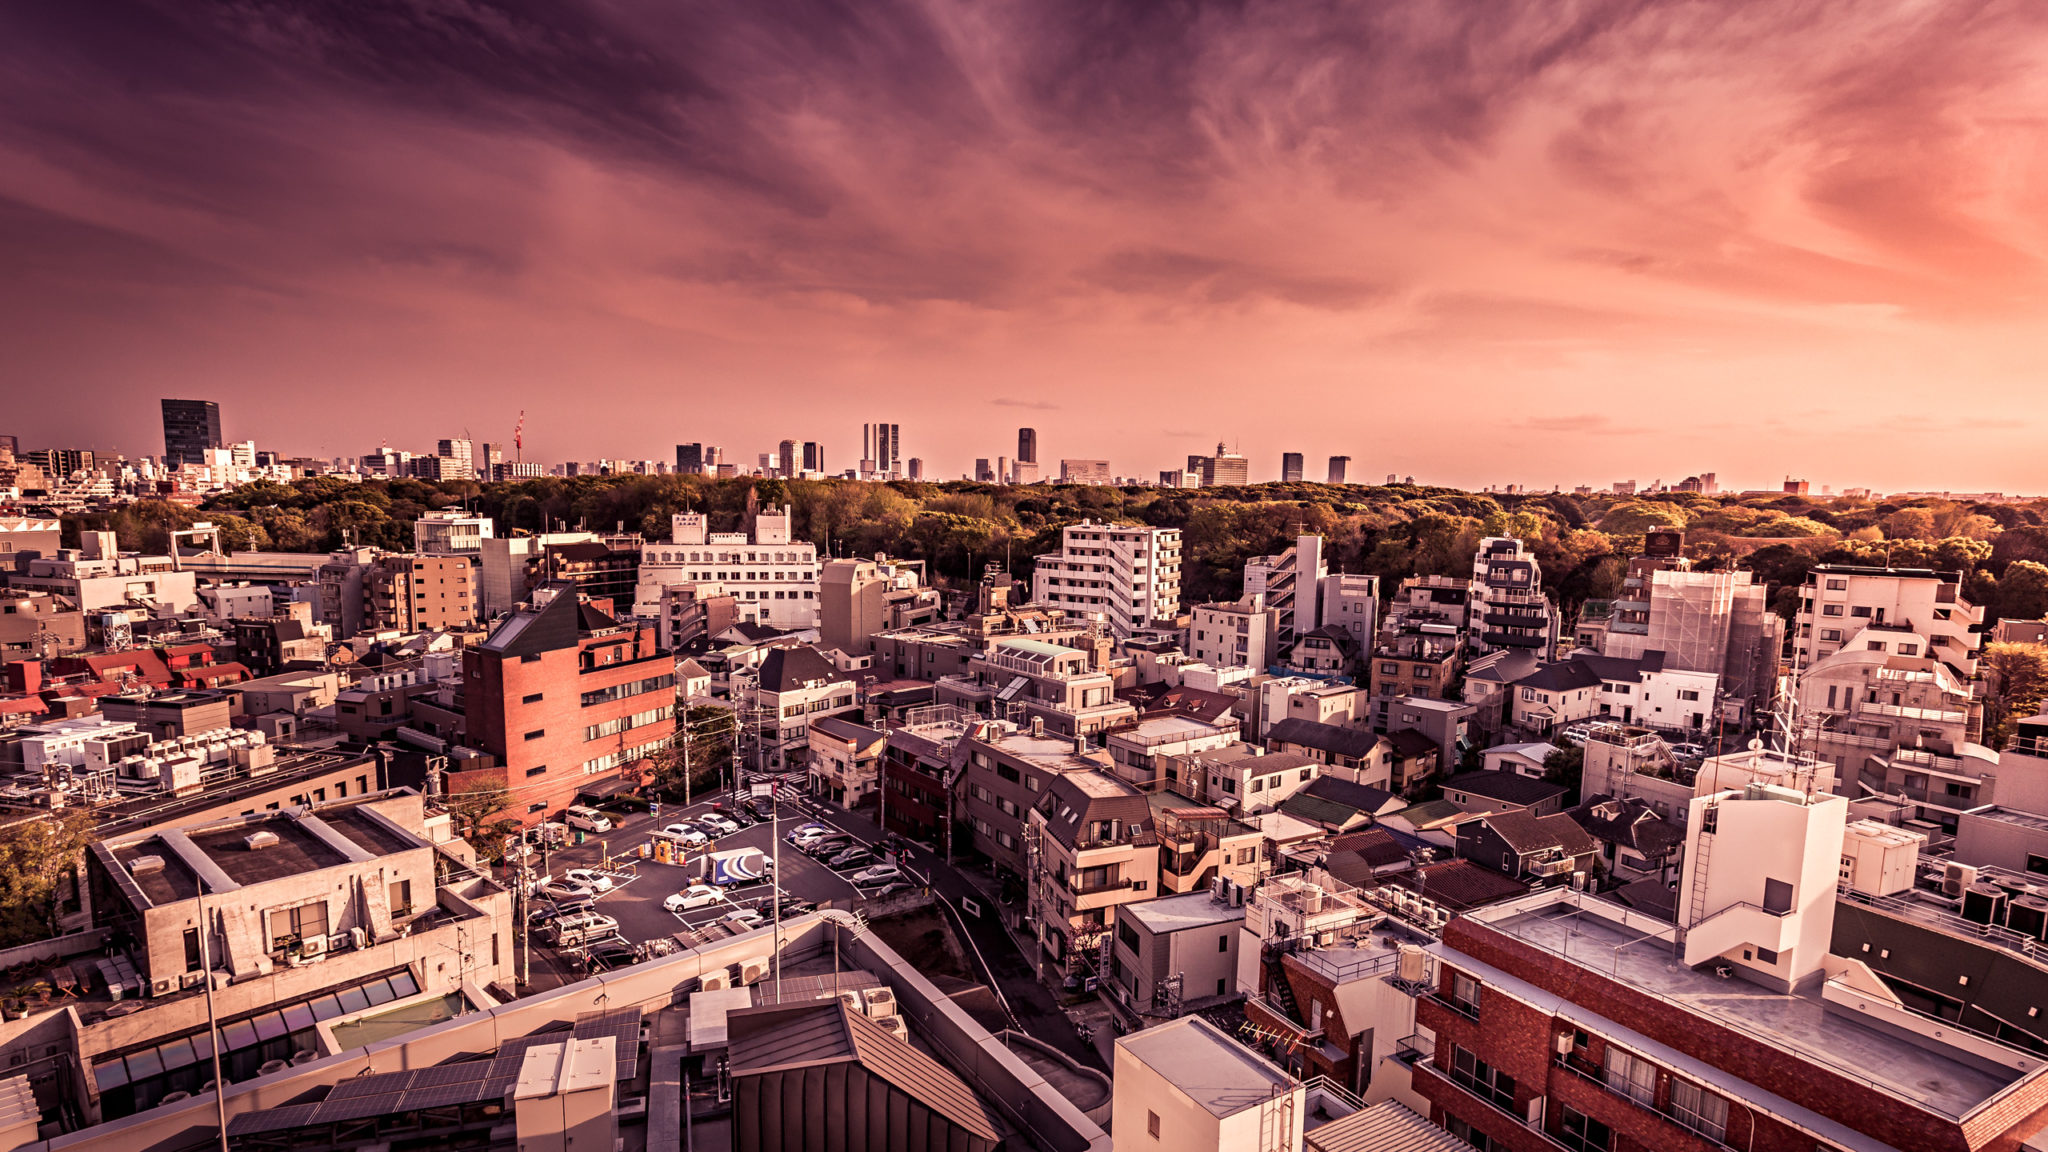
Some Airbnb properties will reward you with views like this
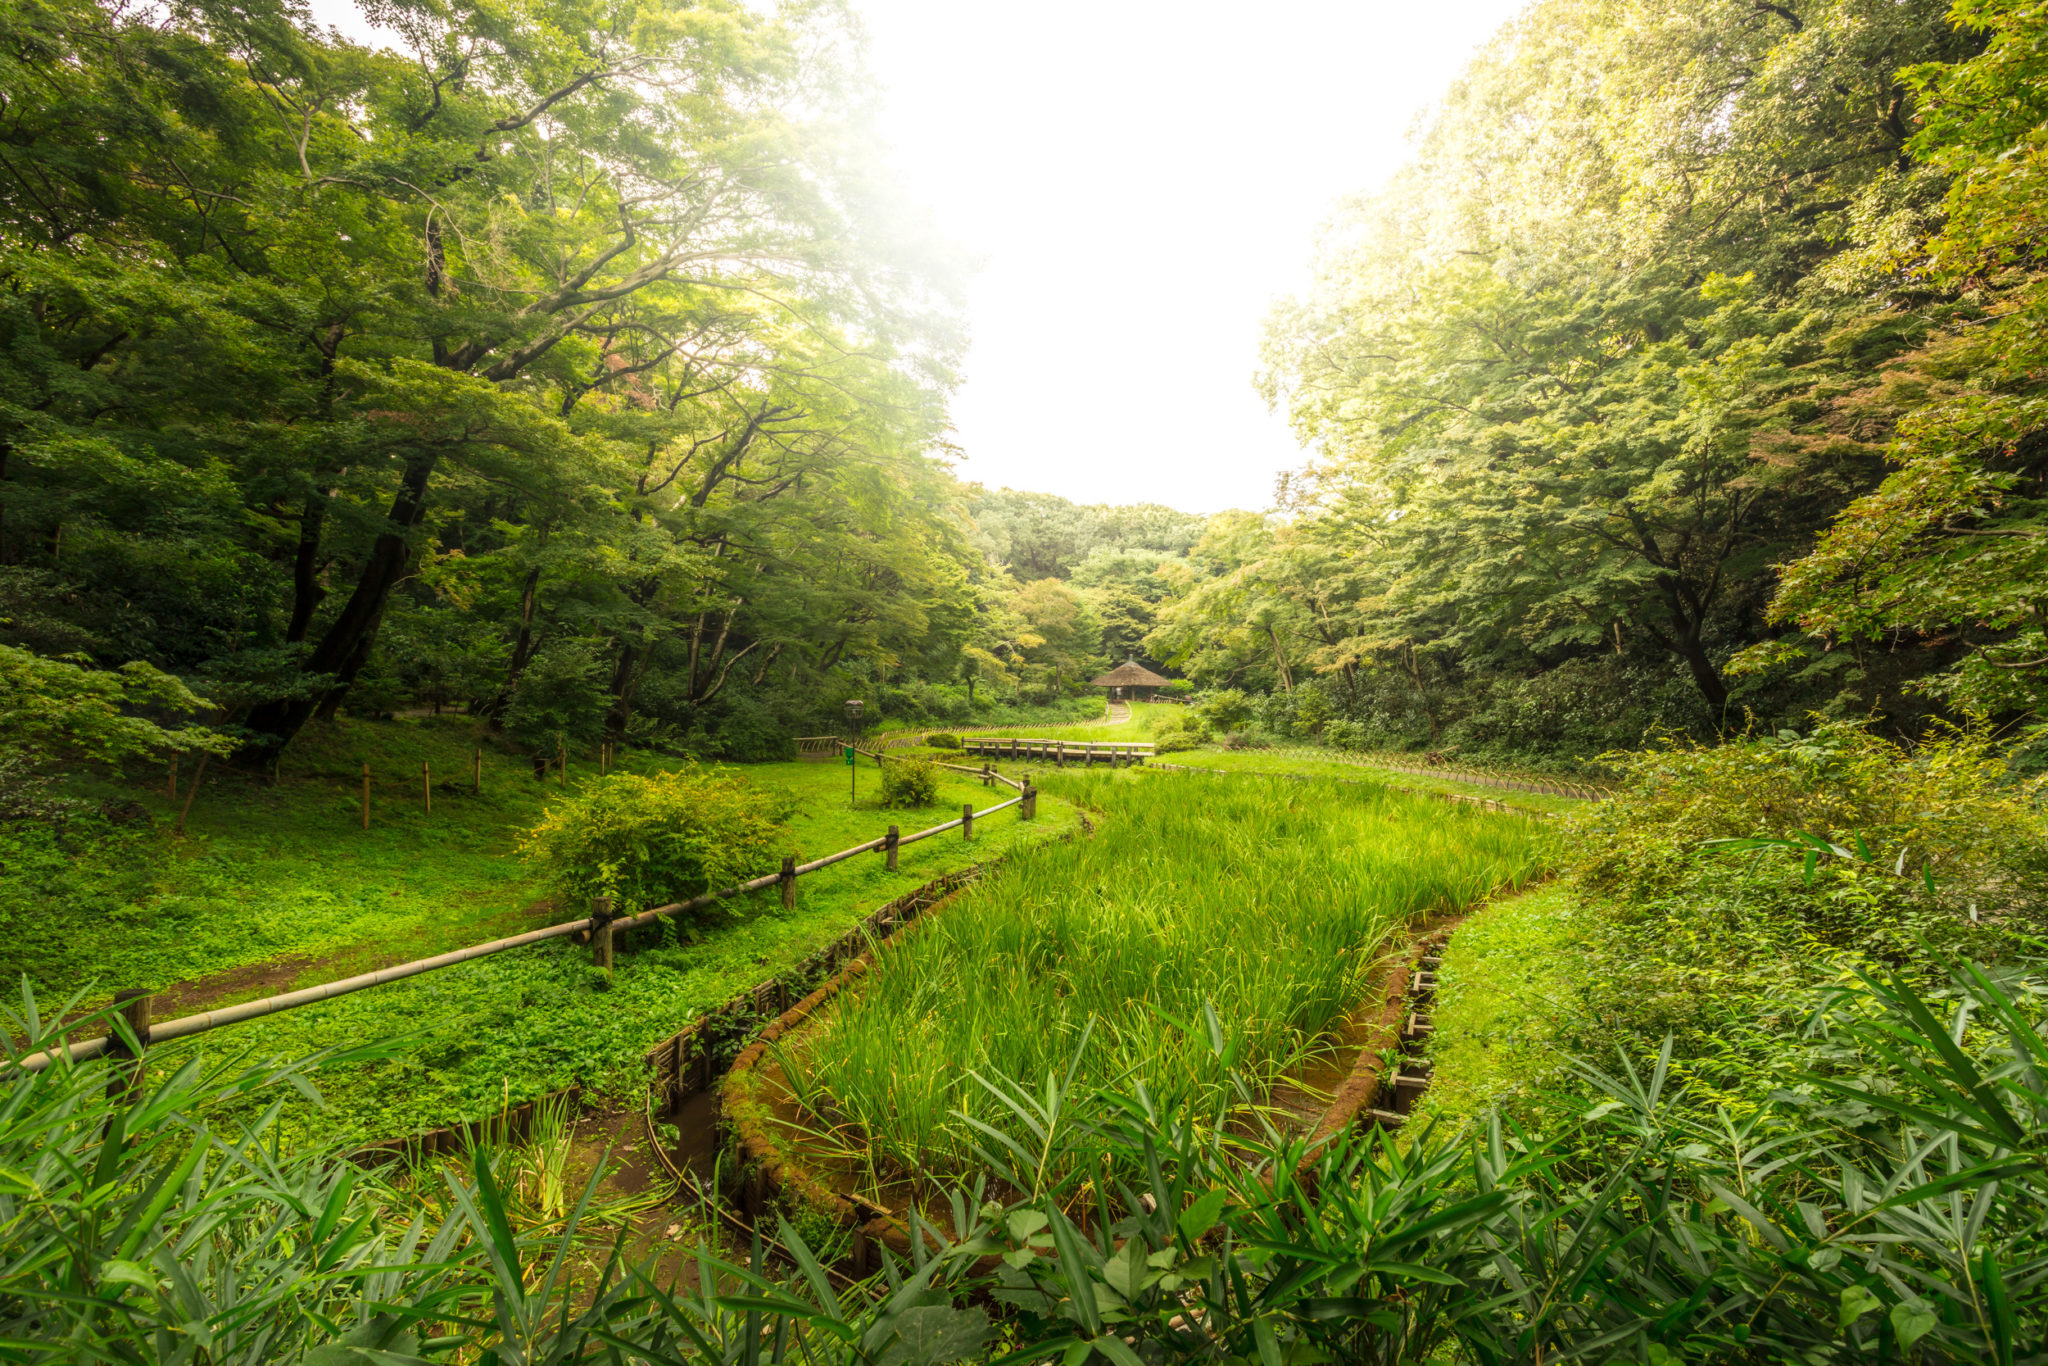
Photographers take note that tripods are not permitted to be used in Yoyogi Park
Getting around in Japan
Purchase an IC Card
In this photographers guide to Tokyo, I wanted to provide as much useful information about getting around as possible. I’m going to start by telling you that getting a prepaid IC (Suica or Pasmo Card) is by far the most convenient (and easiest) way to travel. You can use this card virtually all trains, buses and subways in most of Japans major cities. You can also use it to make purchases for every day items in shops and stores. Really handy if you want to grab a quick drink on your way to your next photo location.
To use these cards, simply tap on the NFC card reader at station gates or shop registers. Your balance on the card will show on the screen once the transaction has been processed so you can always stay on top of things.
You can read this guide to Tokyo on how to buy these prepaid IC cards at corresponding stations from the user-friendly machines. Simply approach the machine and select your preferred language. If you need assistance, there are usually lots of people around always willing to help. There is a non-refundable ¥500 fee for the card and initial purchase plus whatever amount you want to charge to the card; usually ¥1,500.
Recharging your IC Card
Along with checking your balance on your IC card – you can use ticket machines and special re-charging machines to top up your IC card at any time. Much like purchasing your IC card – simply select your desired language, insert your IC card and select the amount you wish to put on the card. Simple, right?!
Can I get my ¥500 refunded?
If you don’t wish to keep your IC card – you can hand it back at the train station to receive your initial ¥500 back. Usually you will also br refunded any additional credit you have stored on the card, minus a ¥220 handling fee. It’s also important to remember that you can only return cards to their issuing areas. For example, you can not return a Suica card in Osaka. You’ll need to take this back to Tokyo.
What photography gear do I take to Tokyo?
There’s a lot to see and do in Japan. One thing to keep in mind is that you’ll be doing a lot of walking. Keep your pack light and pack only the essentials you need for the day. A few good quality lenses, 2 camera bodies, some spare SD cards, a back pack, comfortable camera strap, neutral density (ND) filters and a lightweight, cost-effective carbon fiber tripod was enough for me. I’ll list these individually below.
A 50 megapixel work horse ideal for studio situations and for capturing high resolution stills. Due to it’s large sensor, it’s recommended to use a tripod as any amount of camera shake will be visible in your RAW files. A bit noisy in low-light situations.
Canon EOS 6DII
A semi-professional full-frame DSLR for budget-wise photographers. Great introduction into the full-frame world and works perfectly for all situations. If you’re not able to shell out the coin for the more expensive 5D, the 6D is a perfect alternative.
Canon 17-40mm f/4.0 L
This is my go-to lens for landscapes and interior photographs. There is a more expensive 16-35mm variation that is heralded as one of the best lenses for landscape photography; but in all honesty – the 17-40mm works wonders and will save you some money at the same time.
Canon 50mm f/1.4 USM
A prime 50mm is a welcome addition to any photographers kit. It’s quick, snappy and great for a range of genres including street, landscape, portrait and lifestyle photography. The 50mm f/1.4 is a cheaper alternative than the f/1.2 L version. You can’t go wrong with this lens, however the ultrasonic motor can be a little noisy if you’re not used to it.
Tamron 70-200mm f/2.8 DI VC USD
There are a range of 70-200mm f/2.8 lenses on offer from various manufacturers, and to be honest, it’s hard to go wrong with any of them. It all comes down to your budget and how much use you’re going to get out of it. I primarily use the 70-200mm for my portrait work as I like the compression you get from a telephoto lens in this range.
Having a lightweight, portable tripod that’s still sturdy enough to hold bigger modern-day SLR’s is a huge plus when traveling. After extensive research, I moved away from my studio Manfrotto tripods and went to a cheaper Mefoto Globetrotter Carbon Fibre tripod. Extremely easy to setup and it packs away into a small case that will fit in your carry on baggage. It’s incredibly lightweight and the included ball head is pretty decent quality. I haven’t had any issues with this tripod to date.
LowePro Pro Runner BP450 AWII Camera Bag
I’ve trialed a lot of camera bags over the years and I still find myself coming back to LowePro products. Their combination of price, quality and versatility make these bags great for travel. The BP 450 AWII in particular has plenty of room for multiple camera bodies, lenses, and any other accessories you might possibly need during your travel.
Cokin Z Series Pro Filter Kit
Decent quality filters in front of your lens make a huge difference if you’re a photographer that relies on them to properly expose your scene. The Cokin Z Series are an affordable product that works perfectly. I’m particularly fond of their graduated neutral density filters for landscape work, however – if you’re looking to save some money – you can always do this in post production.
Photography Shopping in Tokyo
You arrive in Tokyo, unpack your bags and realize you’ve forgotten some equipment you were really hoping to use. Fear not avid traveler! Tokyo is littered with photography stores. From small retro shops selling old film camera, to huge towering department stores filled with everything from entry-level gear to high-end medium format cameras worth tens of thousands of dollars.
My favourite go-to shop in Tokyo for anything photography related is Yodobashi Camera. There is one located quite close to Shinjuku station, however if you want the full-on multi-story experience. Head over to Akiba and check out the store there. You wont be disappointed. Both stores are usually open from 9:30am til 10:00pm 7 days a week. Hours may vary on public/national holidays. BIC Camera is also a great store for photography gear.
Yodobashi Camera Shinjuku West
Japan, 〒160-0023 Tokyo, 新宿区西新宿1丁目11−1
+81 3-3346-1010
Yodobashi Camera Akiba
Japan, 〒101-0028 Tokyo, 千代田区神田花岡町1−1
+81 3-5209-1010
Photographing Shinjuku at Night
Take a look down any of the dark, moody alleyways or gaze up at the monstrous high rise buildings decorated with neon lights and you’ll be presented with more photo opportunities than you can handle. Night time is when I find Shinjuku really comes to life. You will need your tripod here. Try and be a little creative with placement so you’re not getting in peoples way. I’ve had my tripod accidentally kicked mid-way through an exposure which can be a little embarrassing.
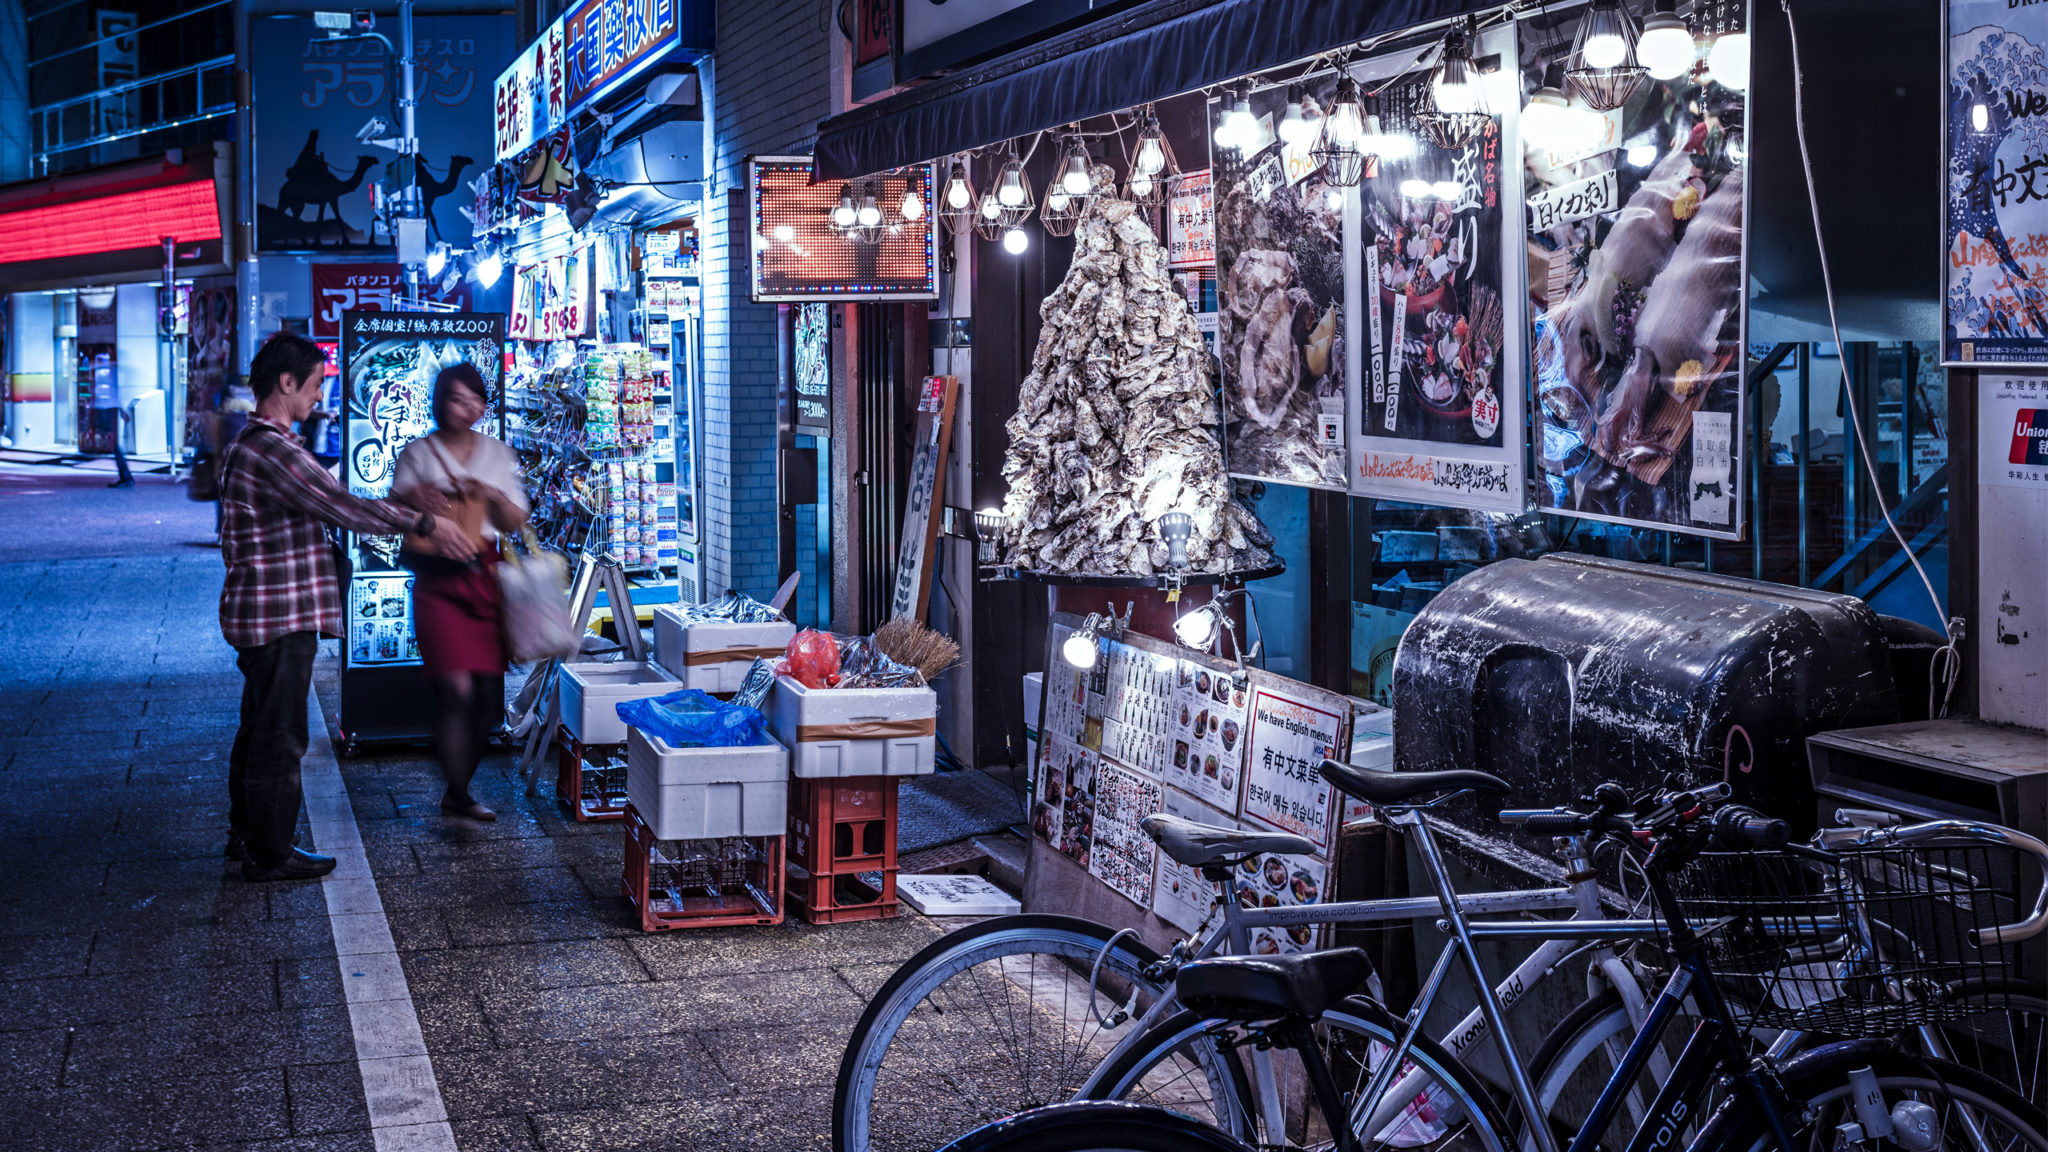
Who wouldn’t take a photo of a mountain of Oysters?
Shoot in RAW RAW RAW!
I can’t preach this enough. If your camera allows it, make sure you’re always shooting in RAW (.CRF on Canon .NEF on Nikon). Shooting in RAW allows so much flexibility in post production, you can essentially re-take the image if you mess something up (within reason of course). RAW images retain data in the highlights, shadows, whites and blacks that can all be altered very easily in post production applications like Lightroom or Capture One Pro. If you shoot in JPG/JPEG, your image will be compressed in-camera and you’ll lose the ability to edit and change all of the data you’d get with a RAW file. If you’re not concerned about post processing and want to get your holiday snaps online as fast as possible, JPG might be an easier option for you.
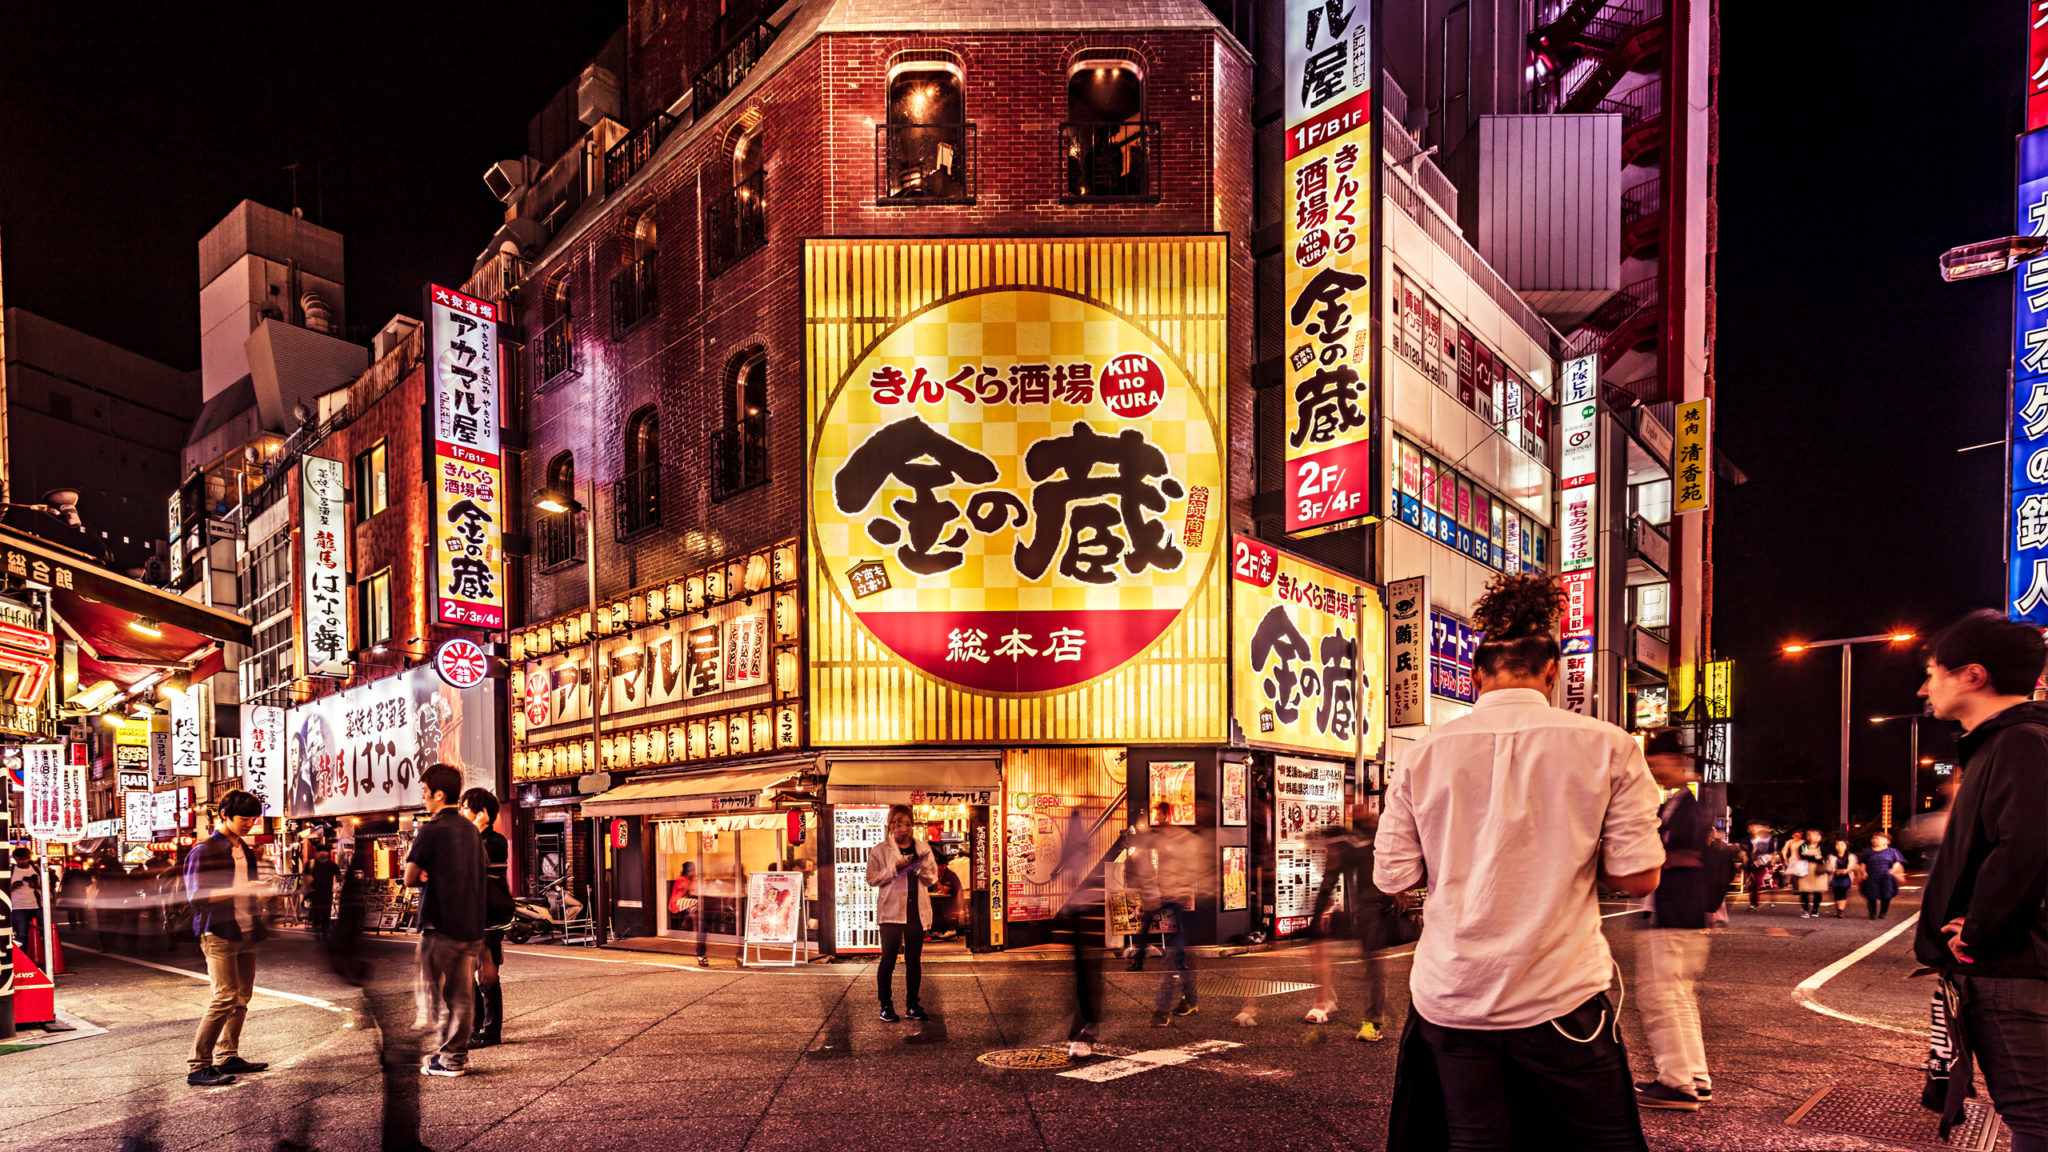
Using a slower shutter speed can create a sense of motion in your images. Finding the right balance is the tricky part.
Use Colour to your Advantage
Utilizing color in your images can reward you with some breath-taking results. Warmer tones will give your images a different mood and depth than using cooler tones for example. Compare the image above with the first image of the Oysters; you’ll see what I’m talking about. A great resource you can use for colour palettes is Adobe Kuler (Adobe Color). It’s a free colour wheel tool that lets you map and quickly find colour schemes. You can save these colour schemes to refer back to at any time. Adobe Kuler has the ability to upload an image and generate a colour palette from the contents of the image too!
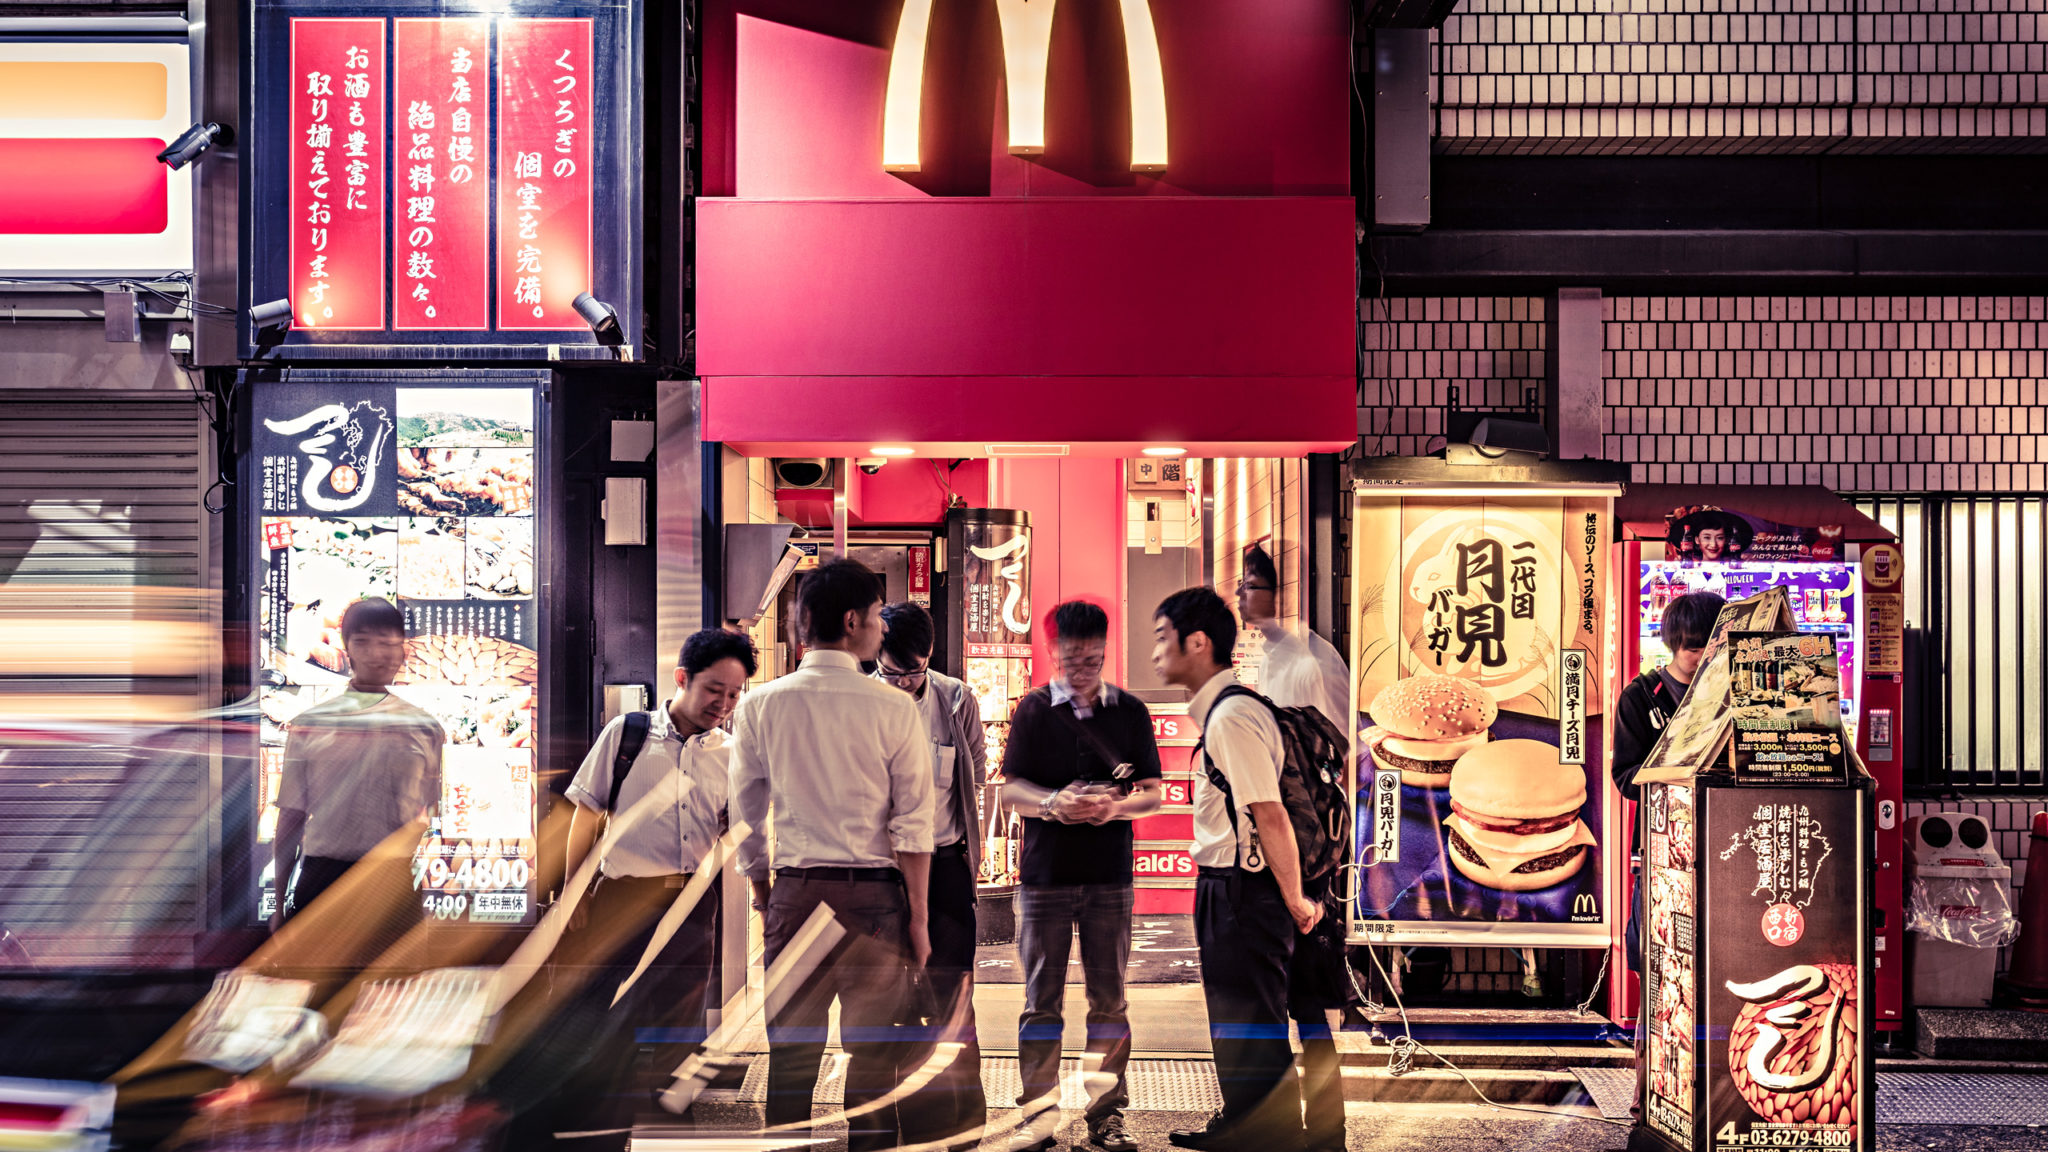
Even McDonalds makes a fantastic photo opportunity in Japan
Framing and Composition
We’ve all heard of using the Rule of Thirds (if you haven’t, check out this article on Wikipedia) to create more visually appealing images. You’ll see this applied in a lot of my images but this rule isn’t concrete. You can see the image above of the McDonalds store is framed around the logo itself. I want to lead the viewers eye into the store before exploring other parts of the image. You can read more about 10 other composition rules in photography here.
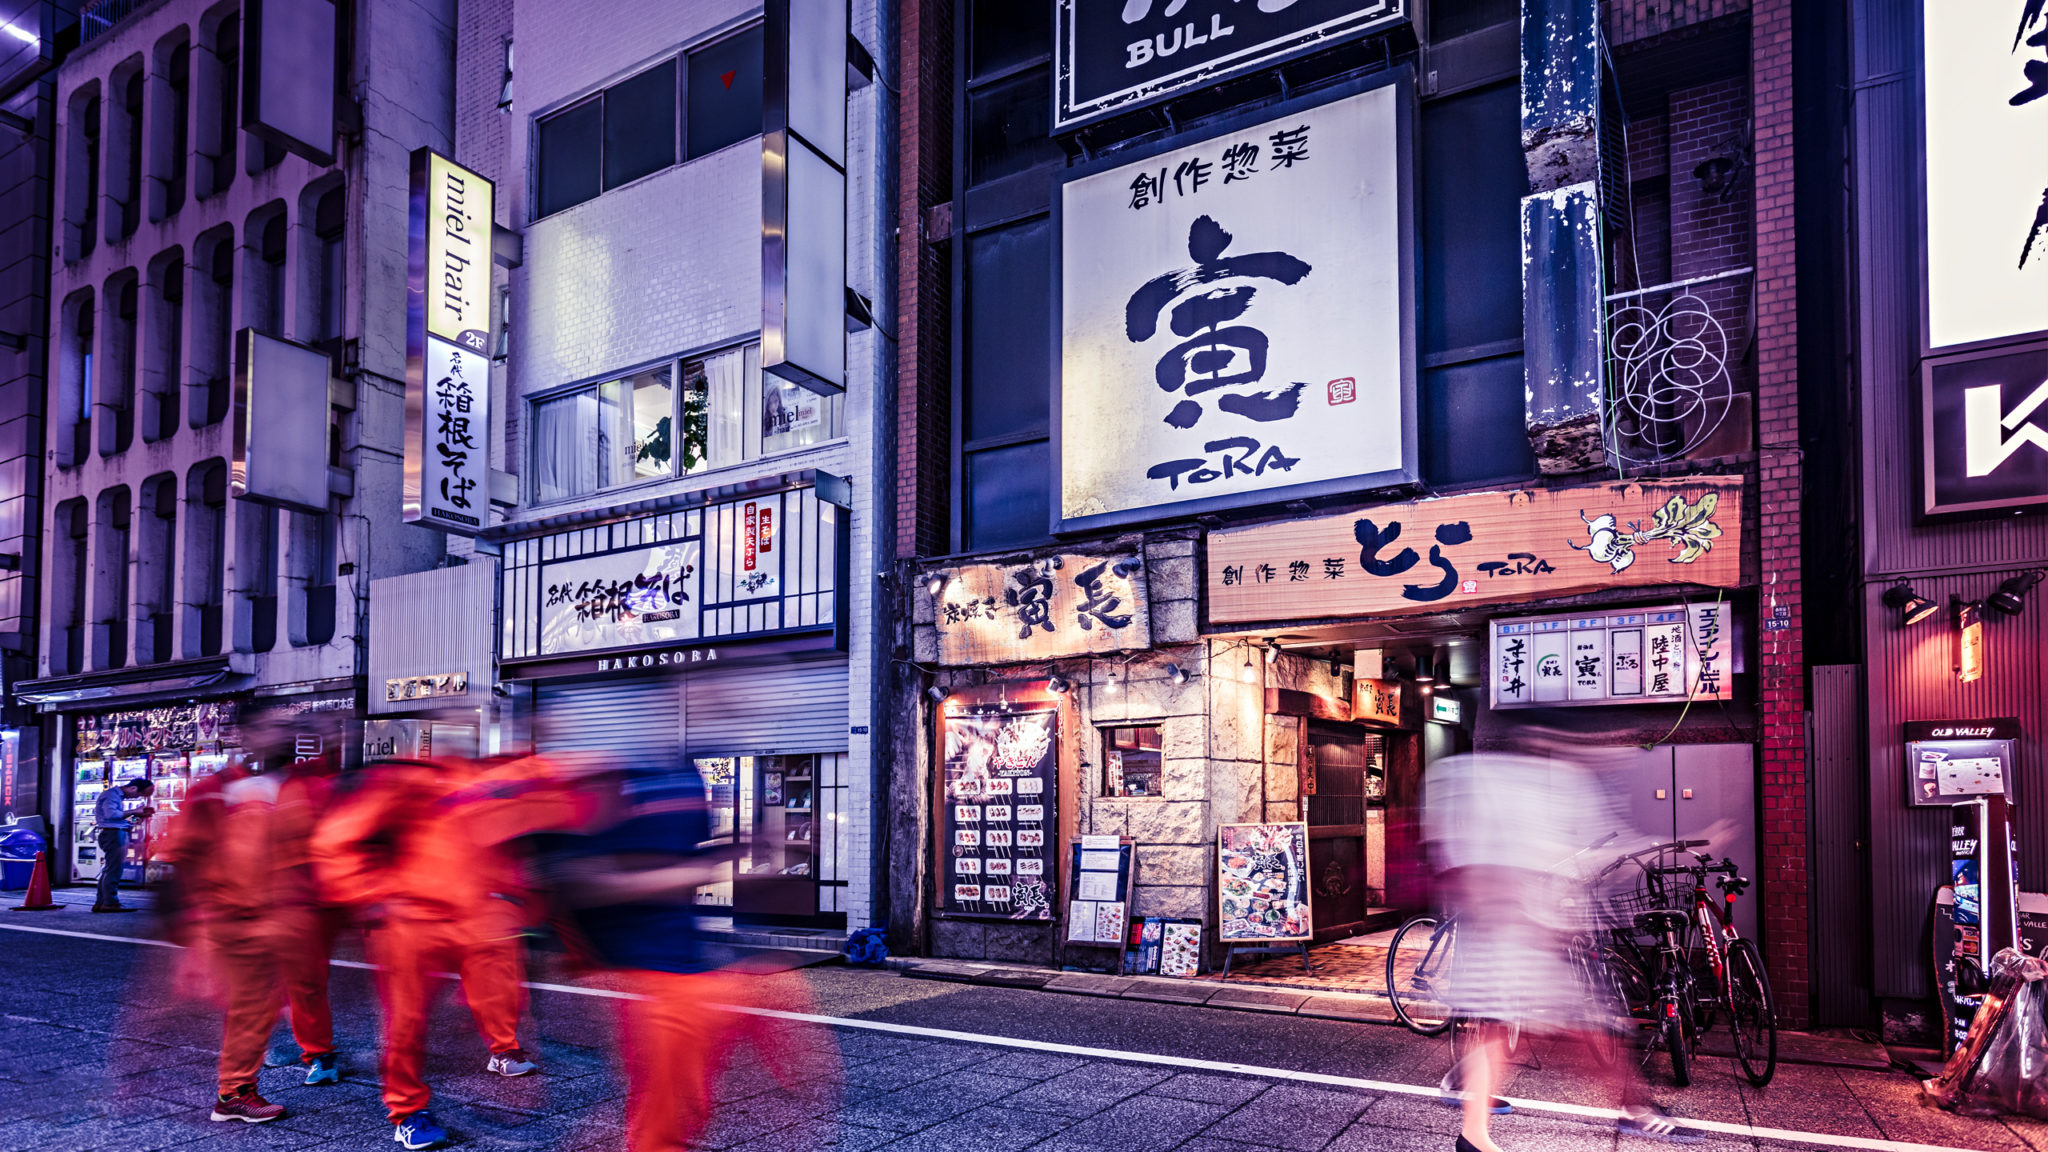
Tora served quite possibly the best Yakiton I’ve ever had. I timed the workers in their orange uniforms to add a splash of colour to the foreground.
Best Camera Settings to use?
There isn’t a single solution for this question. The answer is; it really depends on the situation, subject and available lighting you have to work with. As a general rule of thumb, I nearly always shoot with a tripod. This guarantees I’m going to get a sharp image and allows more flexiblity with shutter speed and aperture. One thing that is important to learn is how to use your camera in (M) Manual Mode. There are plenty of resources online that explain how you operate the ISO, shutter speed and aperture in this mode to properly expose your image. It can be a little tricky at first, but once you master it – you’ll never go back.
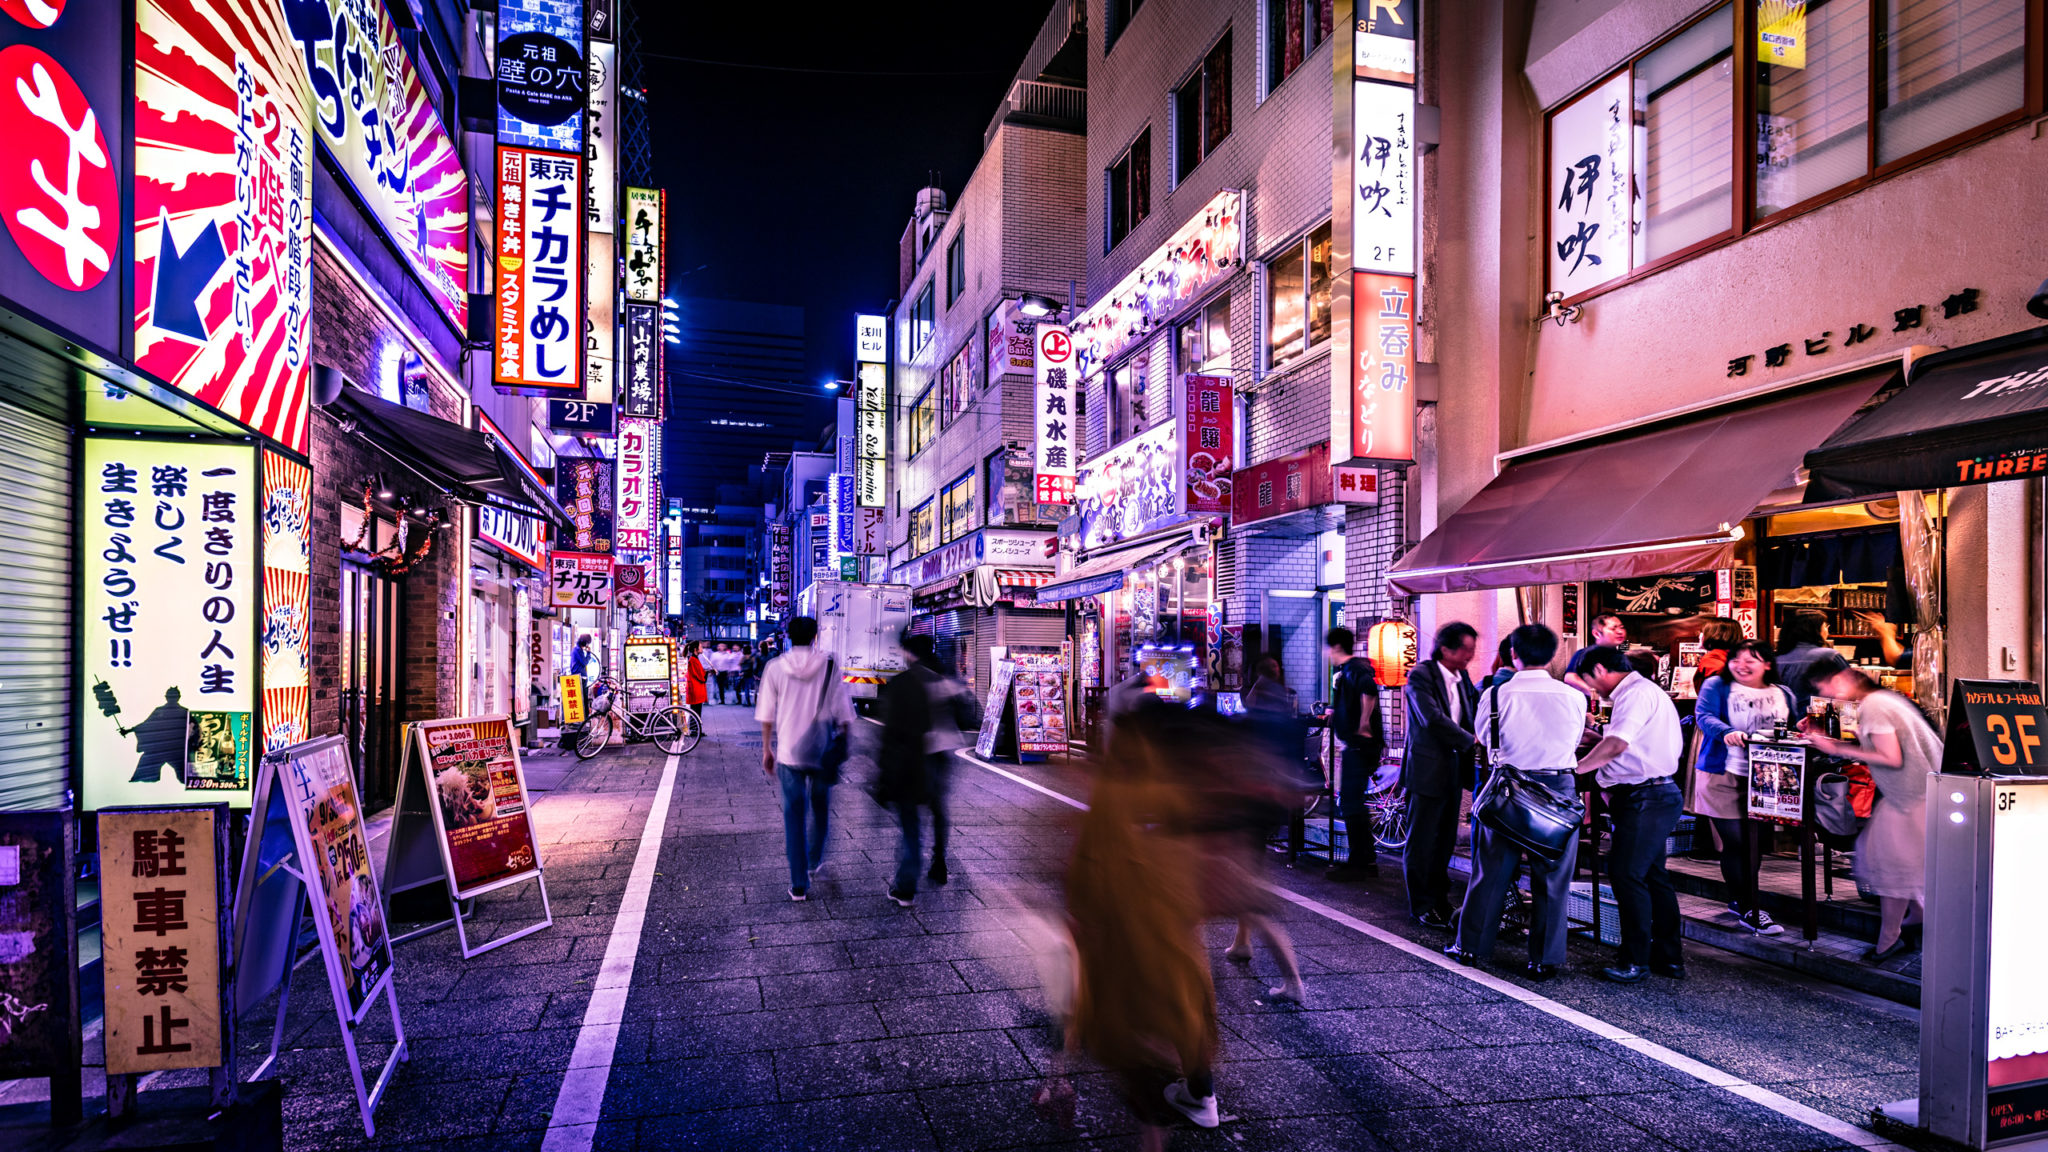
There are Salaryman (サラリーマン) everywhere until late at night enjoying food and beer.
Selfie Sticks are a NO NO!
I wanted to cover all levels of photographers in this photographers guide to Tokyo; Selfie Stick lovers included. We all love selfie sticks. Easy to assemble and a great way to take selfies during travel. However there are growing safety concerns in Japan with foreigners in particular using Selfie Sticks. As a result, numerous parks, shrines, essentially all train stations and places like Tokyo Disney have outright banned the use of Selfie Sticks. If you must use a selfie-stick while traveling to Japan, make sure you do it away from crowded areas and use it discretely. Just don’t be surprised if you get a tap on the shoulder from a friendly Japanese local telling you that they aren’t allowed to be used.
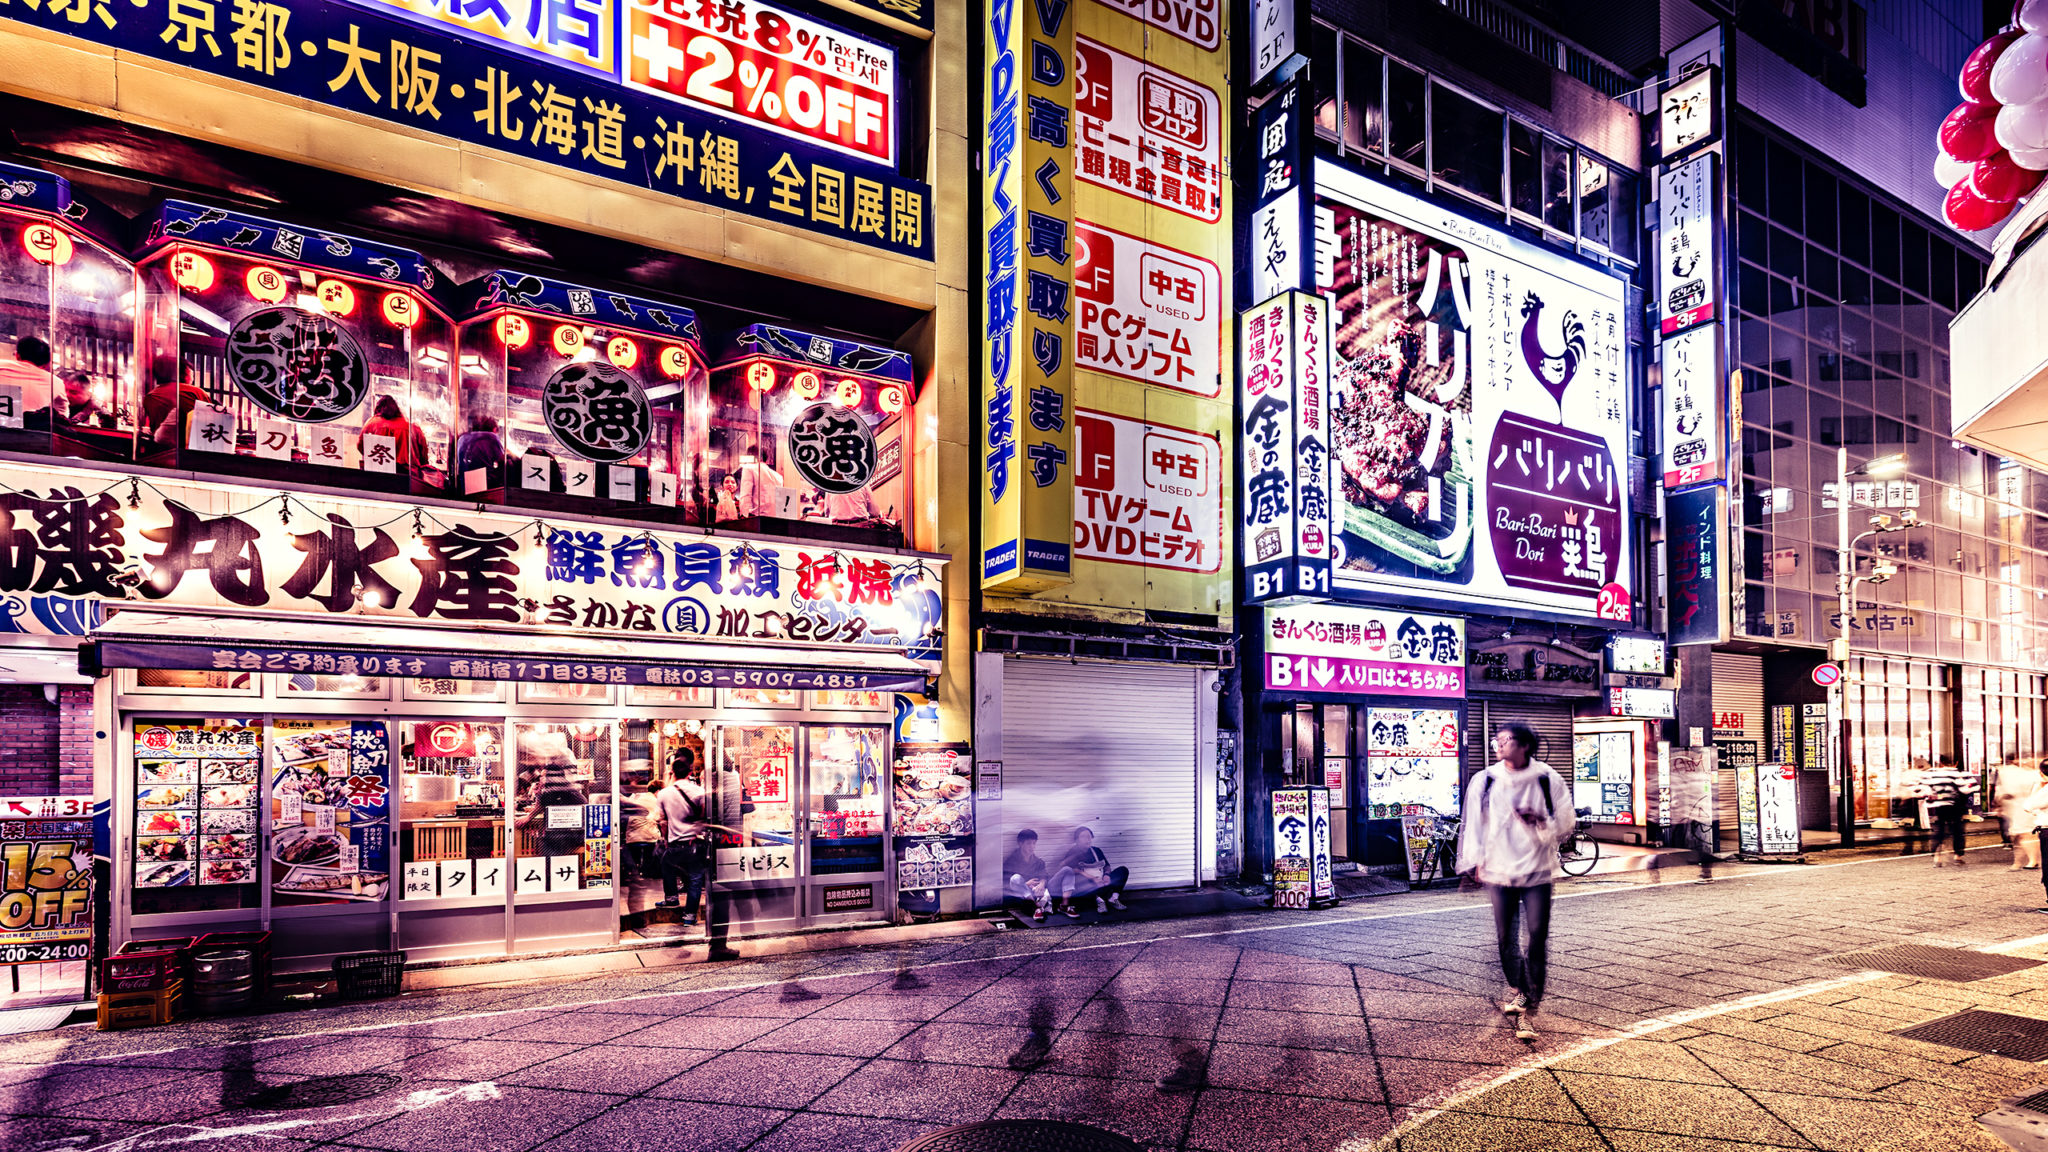
There’s never a shortage of food options in Japan.
Be Respectful when out on the Streets
The hustle and bustle of Japan makes for some wonderful street photography, but make sure you’re considerate of pedestrian traffic when setting up to take your photos. Set your tripod away from foot traffic and crowds and try not to interrupt the flow of pedestrian traffic. Another thing to be careful of is taking recognizable and identifiable photos of individuals on the street without permission. This also includes street fashion photography. This isn’t just etiquette but its the law in Japan. If someone was to lodge a complaint about you photographing individuals without permission, you might land yourself in a sticky situation with the Police.
Explore other areas of Japan
While this article focuses on a small area in Tokyo, it barely scratches the surface of photography opportunities in Japan. There are infinitely more places to visit, each with their own stories to tell. Be sure to take day trips and explore different areas around the country.
Nikko is one place I can definitely recommend. It’s approximately 125km north of Tokyo and makes for a great one or two day trip. There are a number of ways to get to Nikko from Tokyo. I caught the fast limited express train from Asakusa Station to Nikko (approx ¥2,800 each way). You’ll also want to look at getting the Nikko All Area Pass which will grant you access to shrines and other popular destinations.
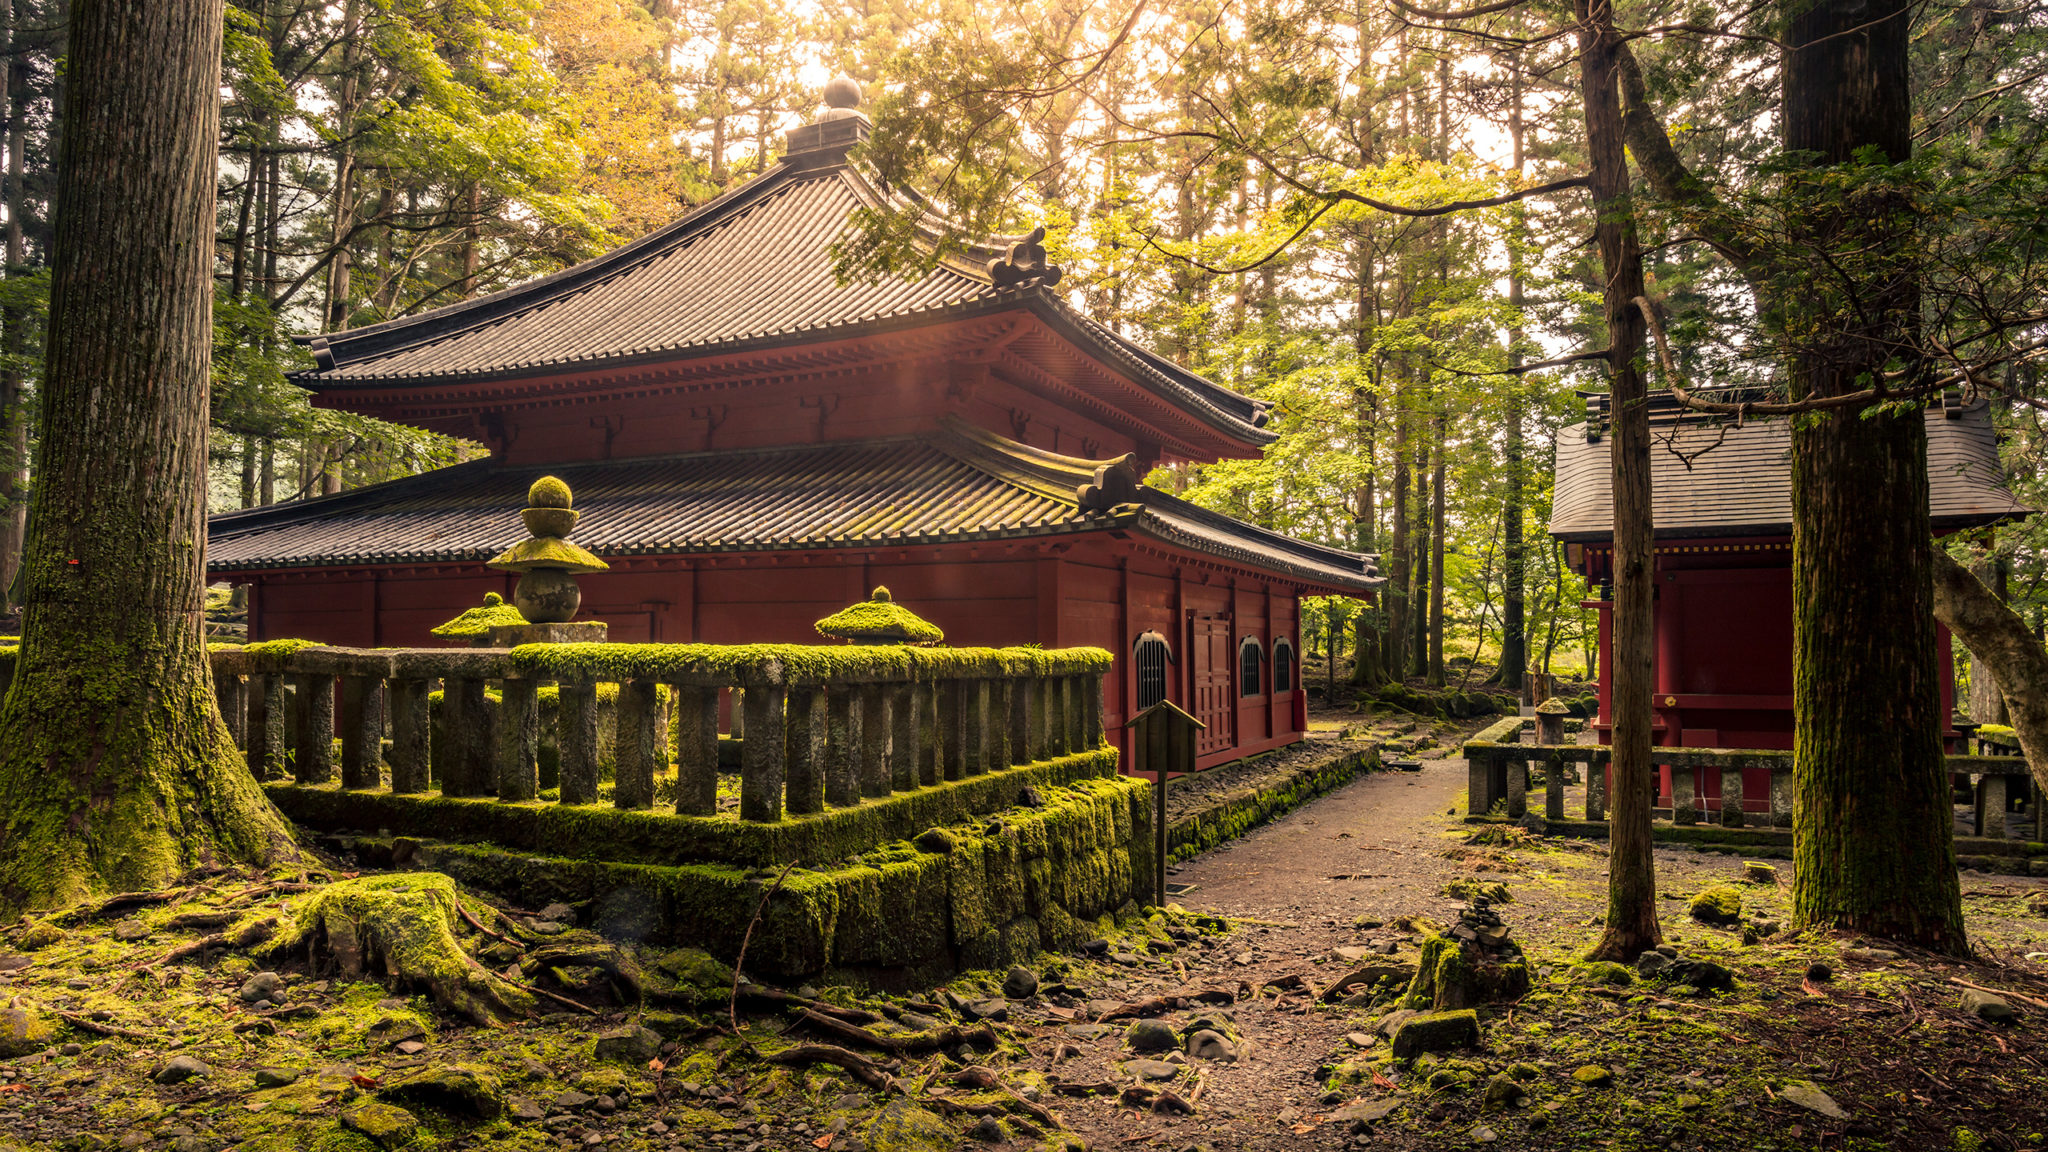
Nikki is full of world heritage sites including beautiful shrines and temples.
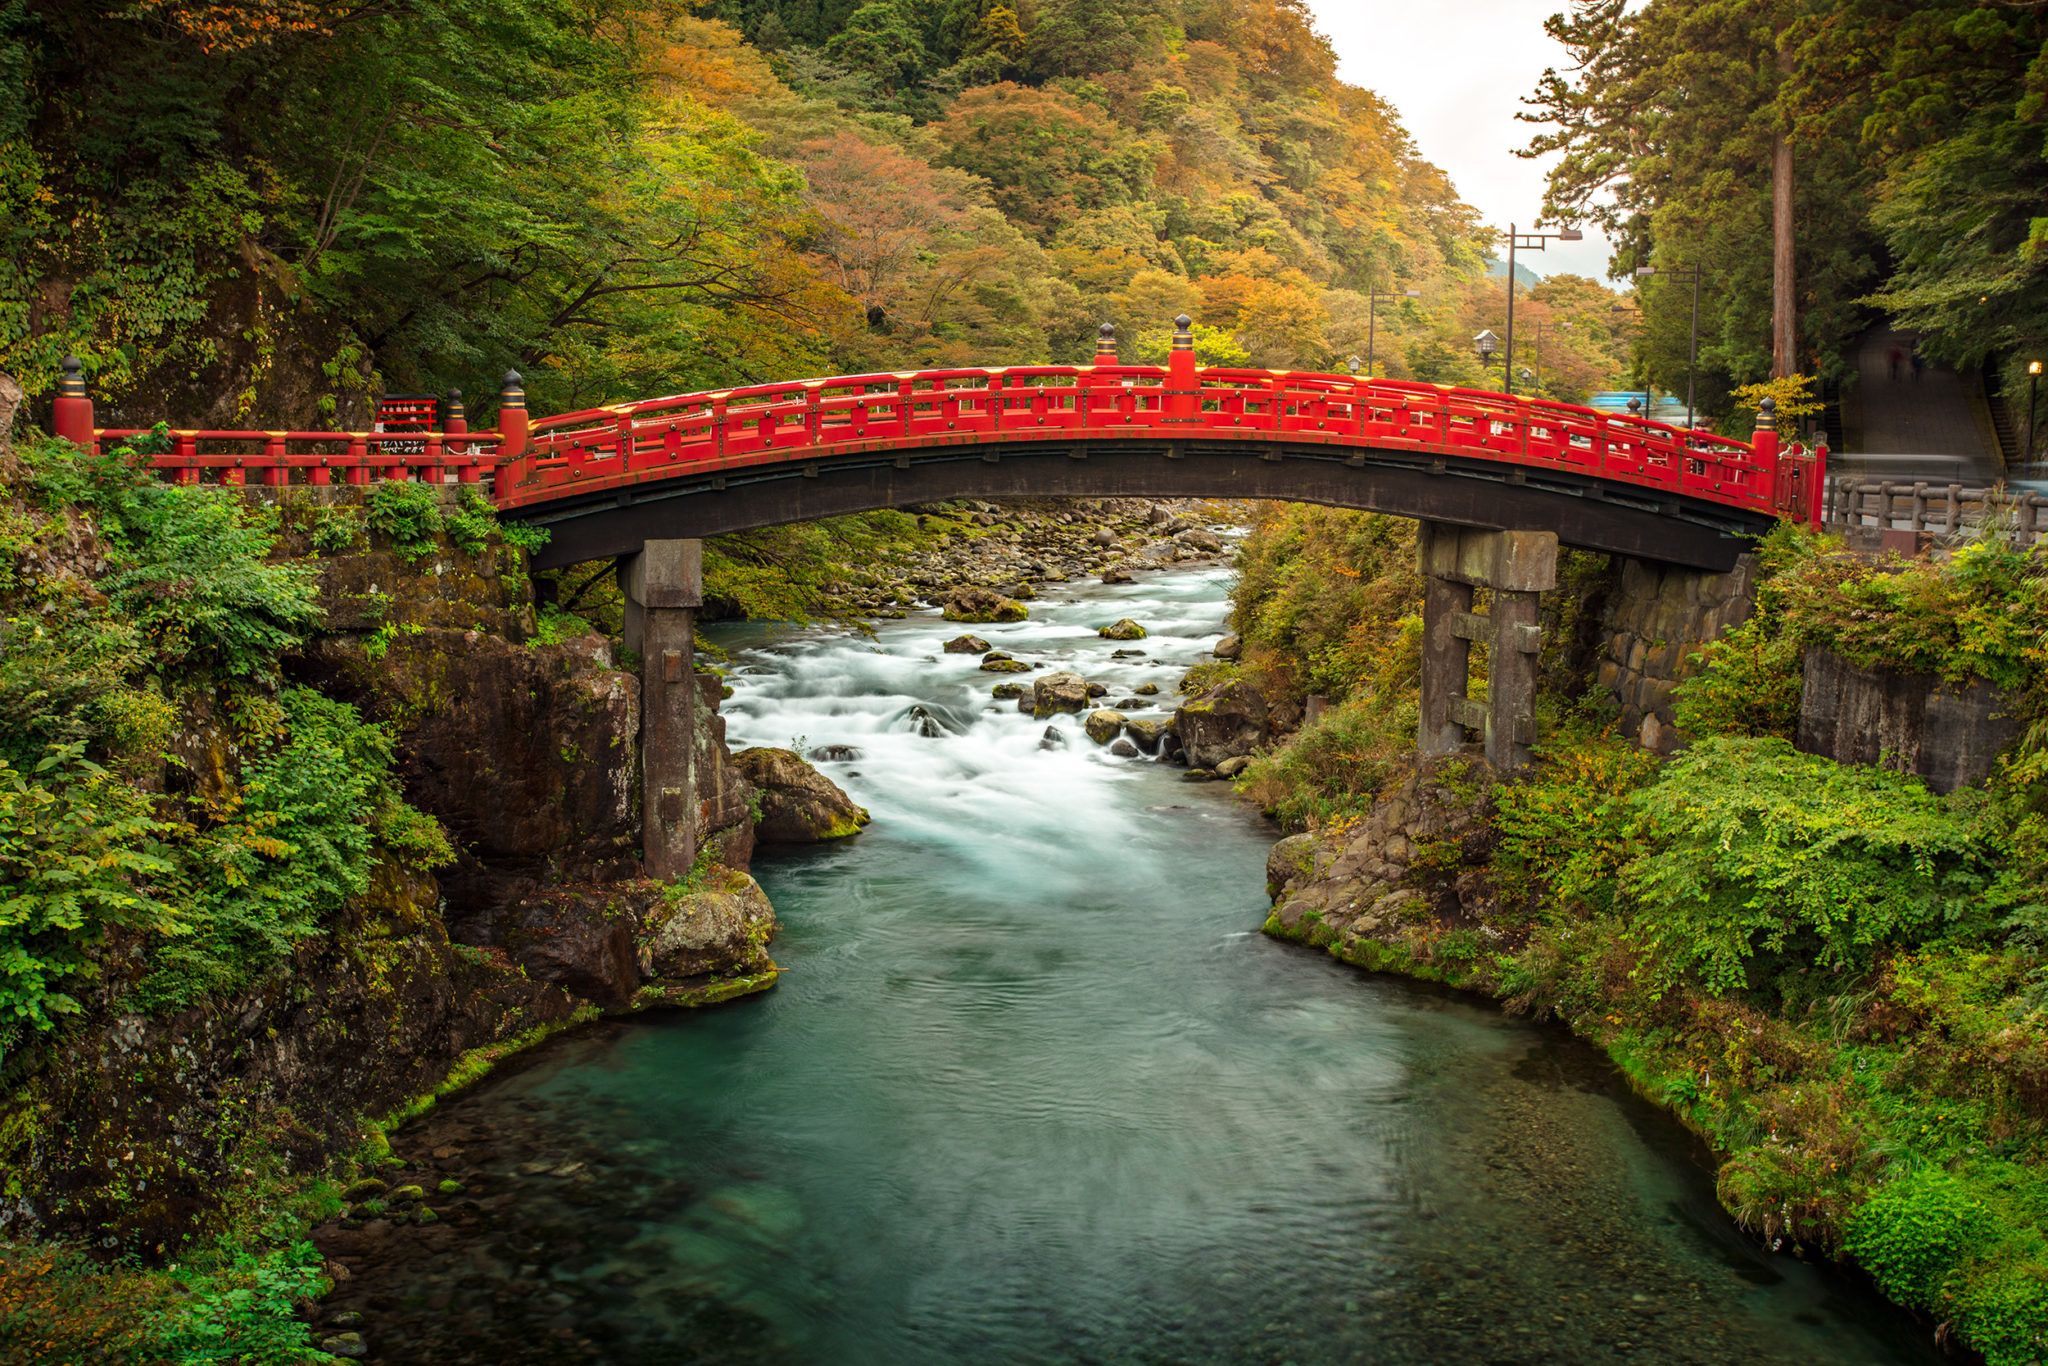
The Shinkyo Bridge (神橋) or Sacred Bridge in Nikko
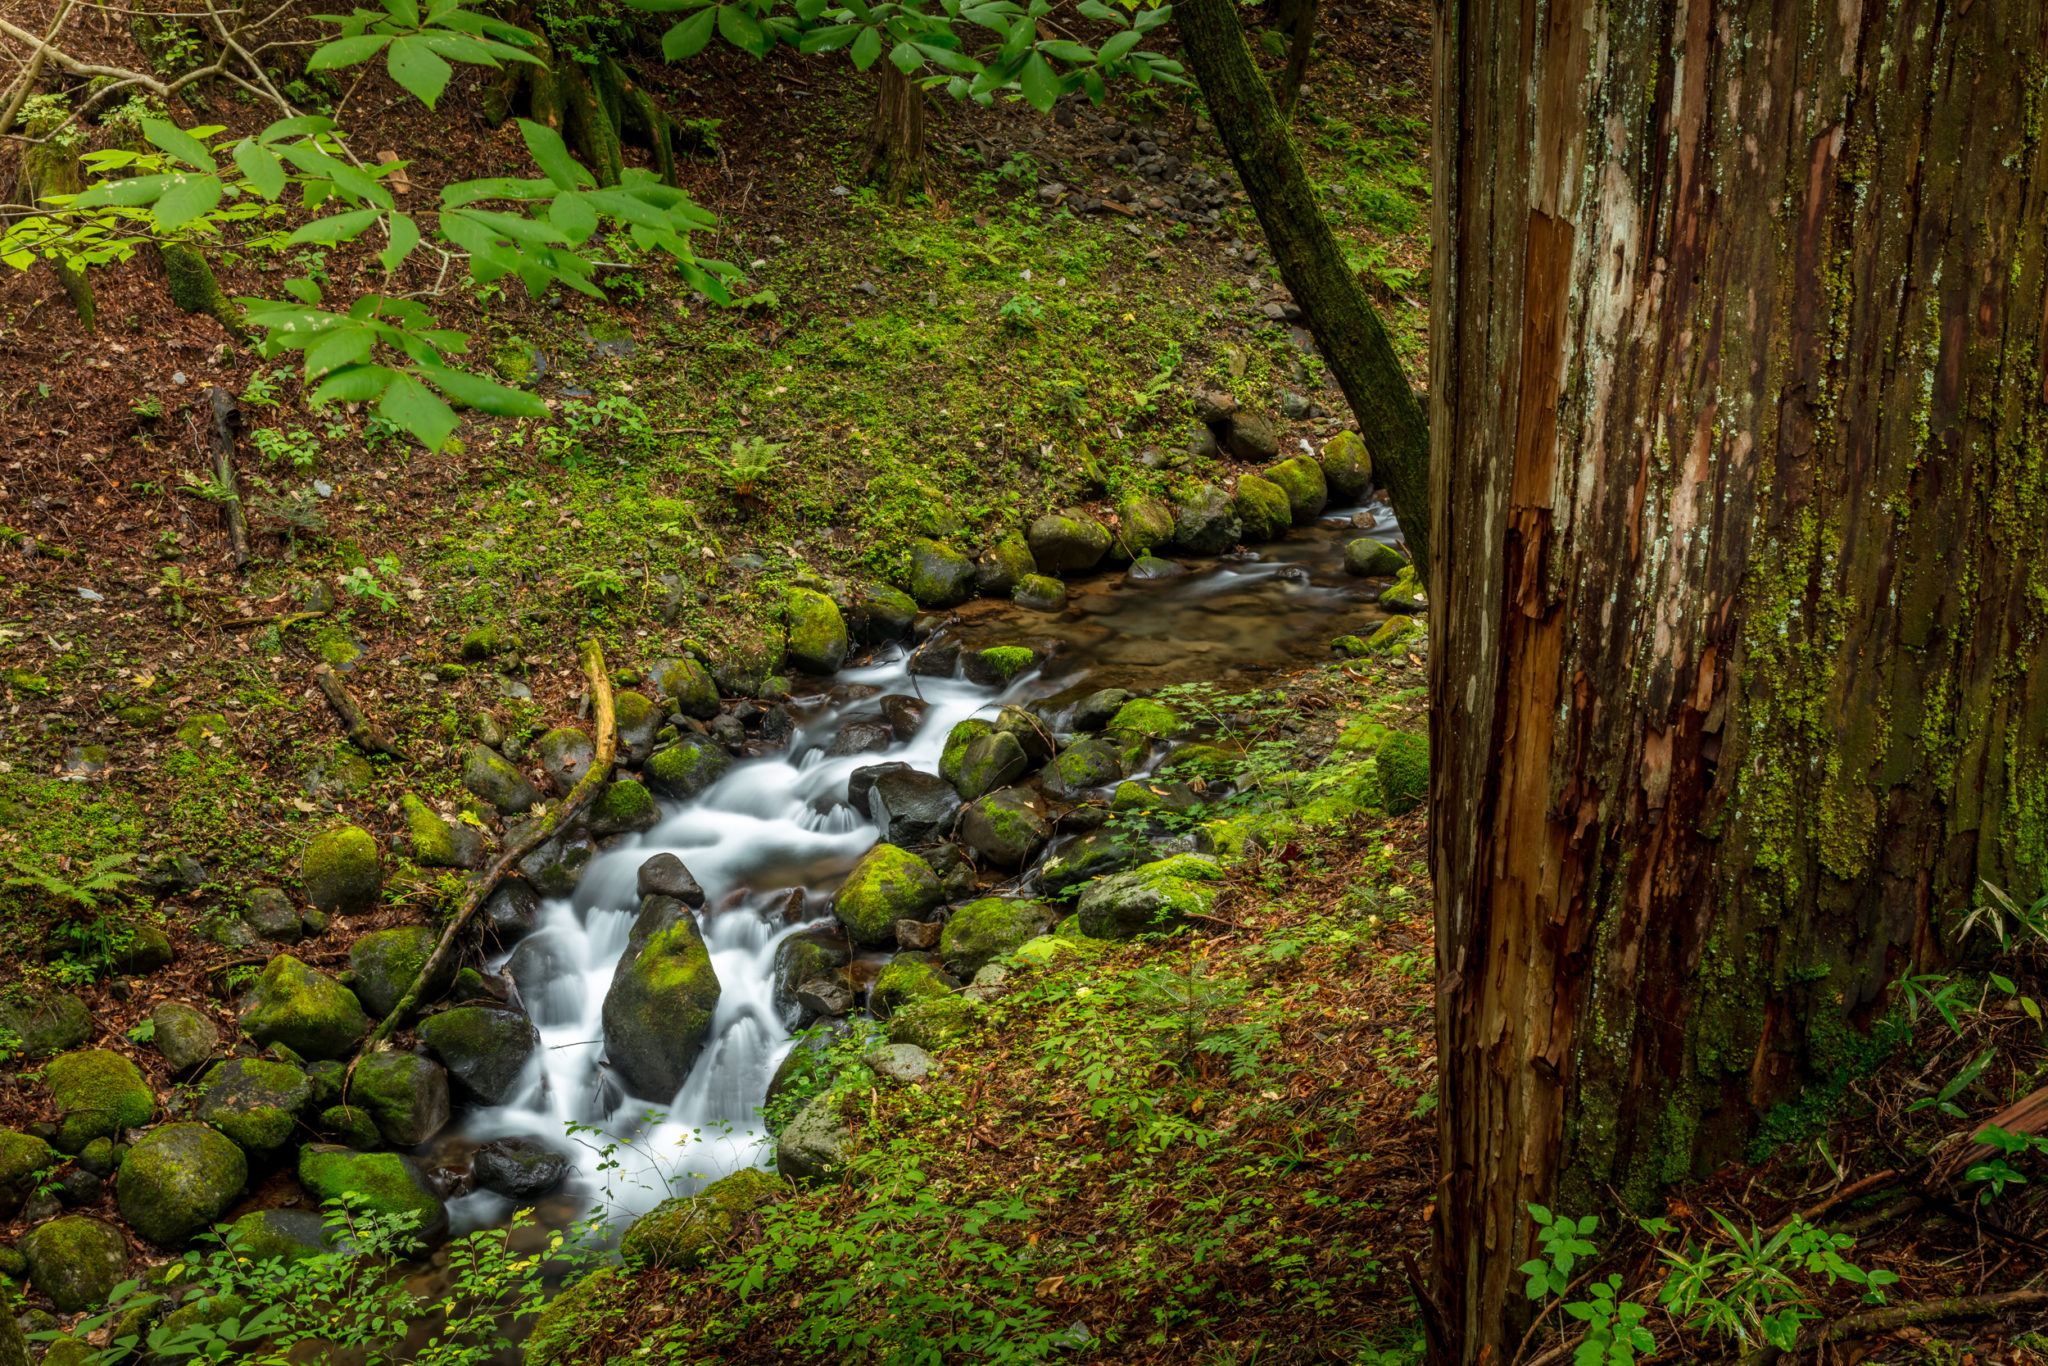
You’ll find an abundance of water, wildlife, trees and shrines in Nikko.
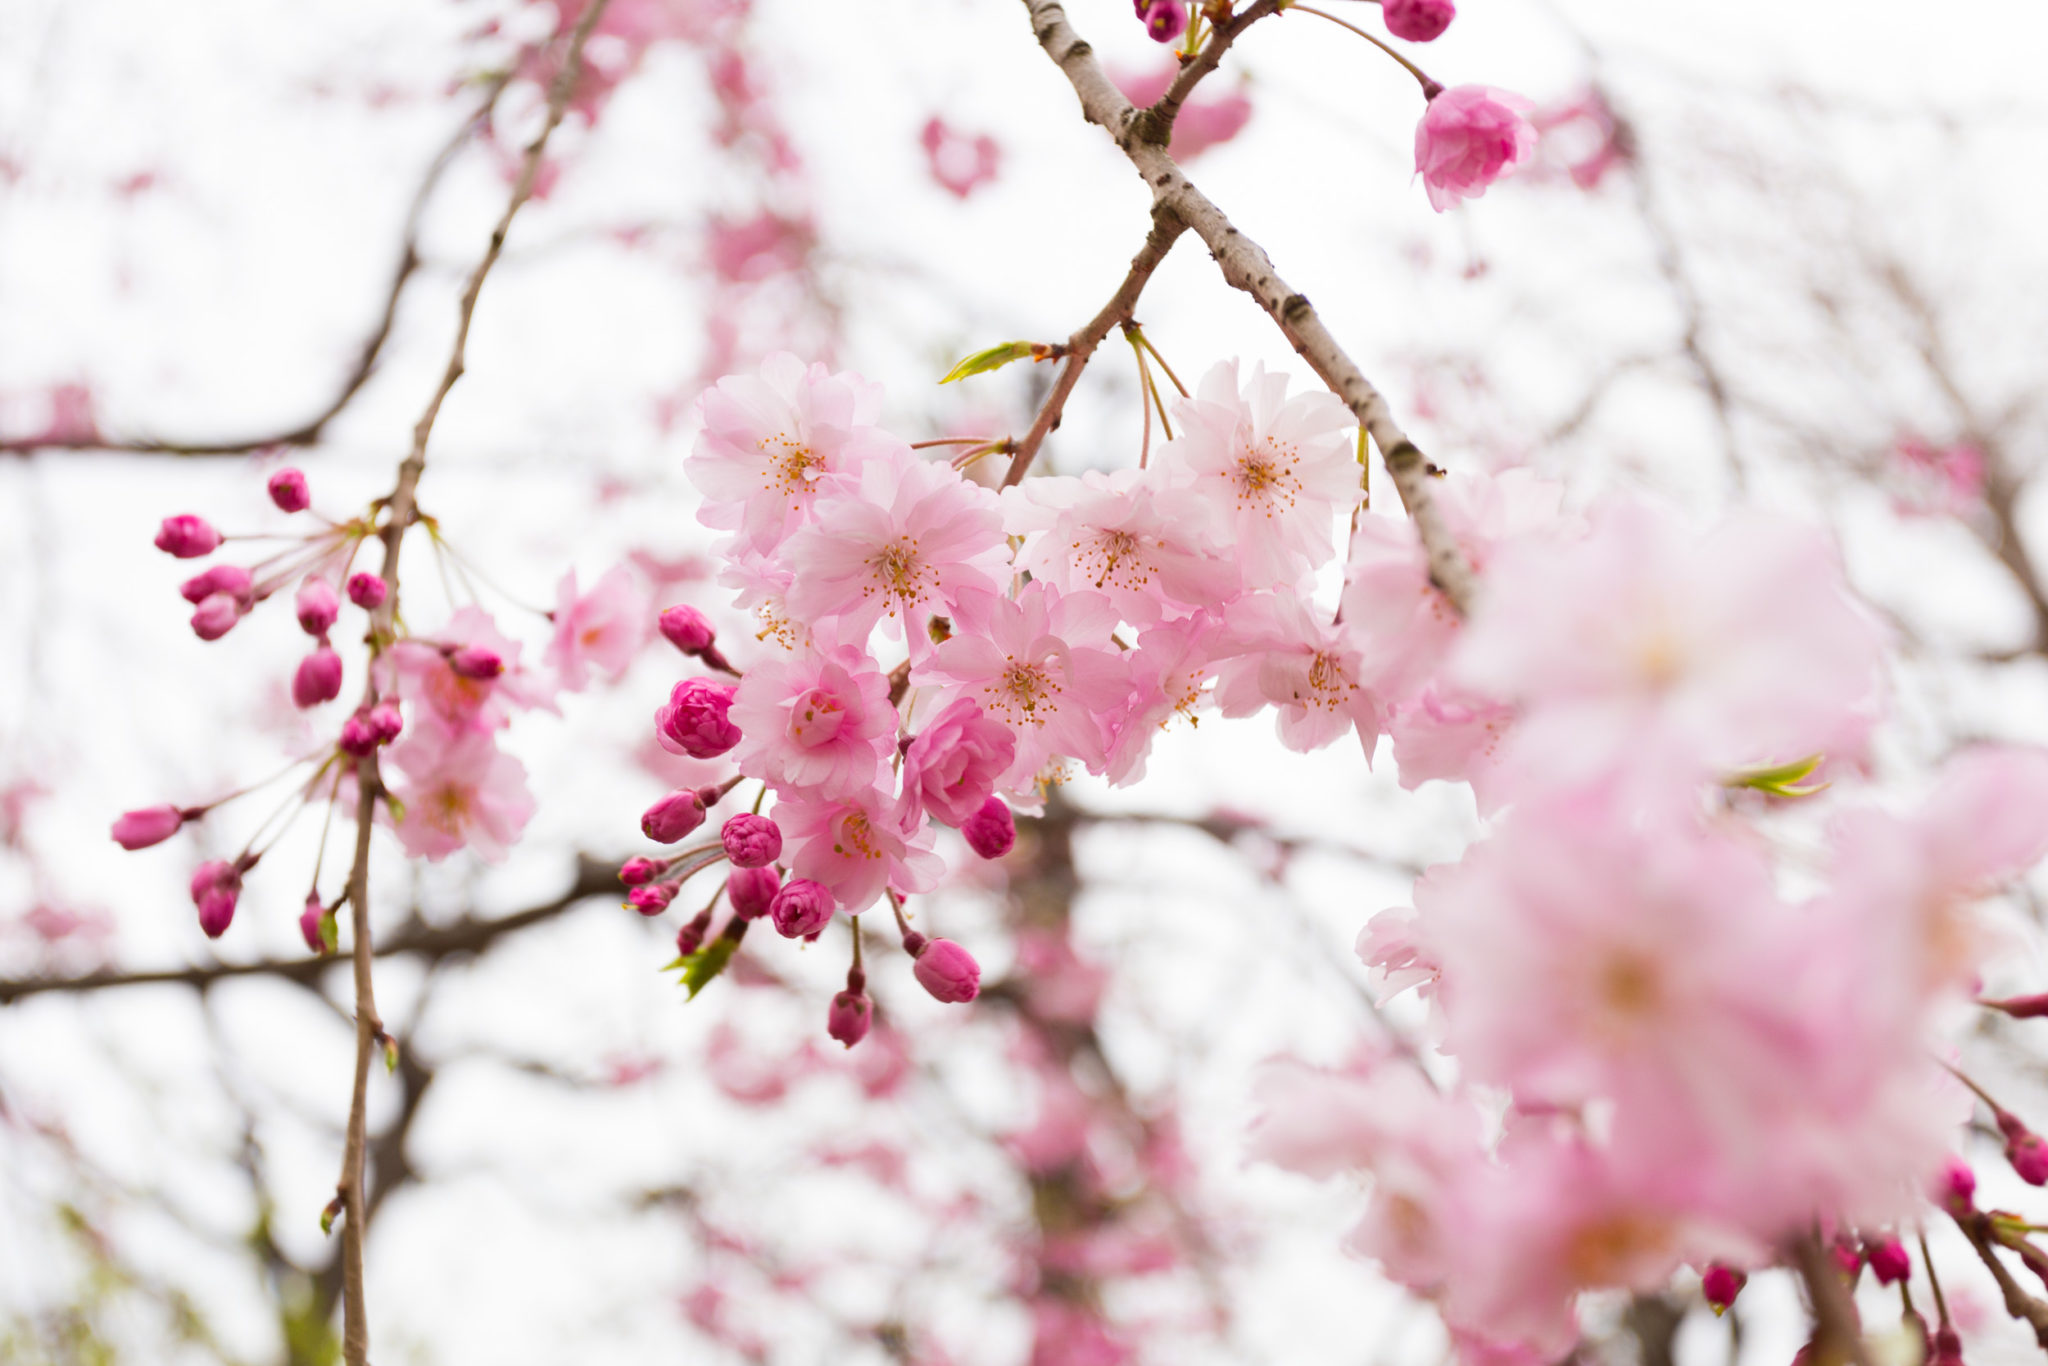
Beautiful Cherry Blossoms near Mitaka starting to Bloom
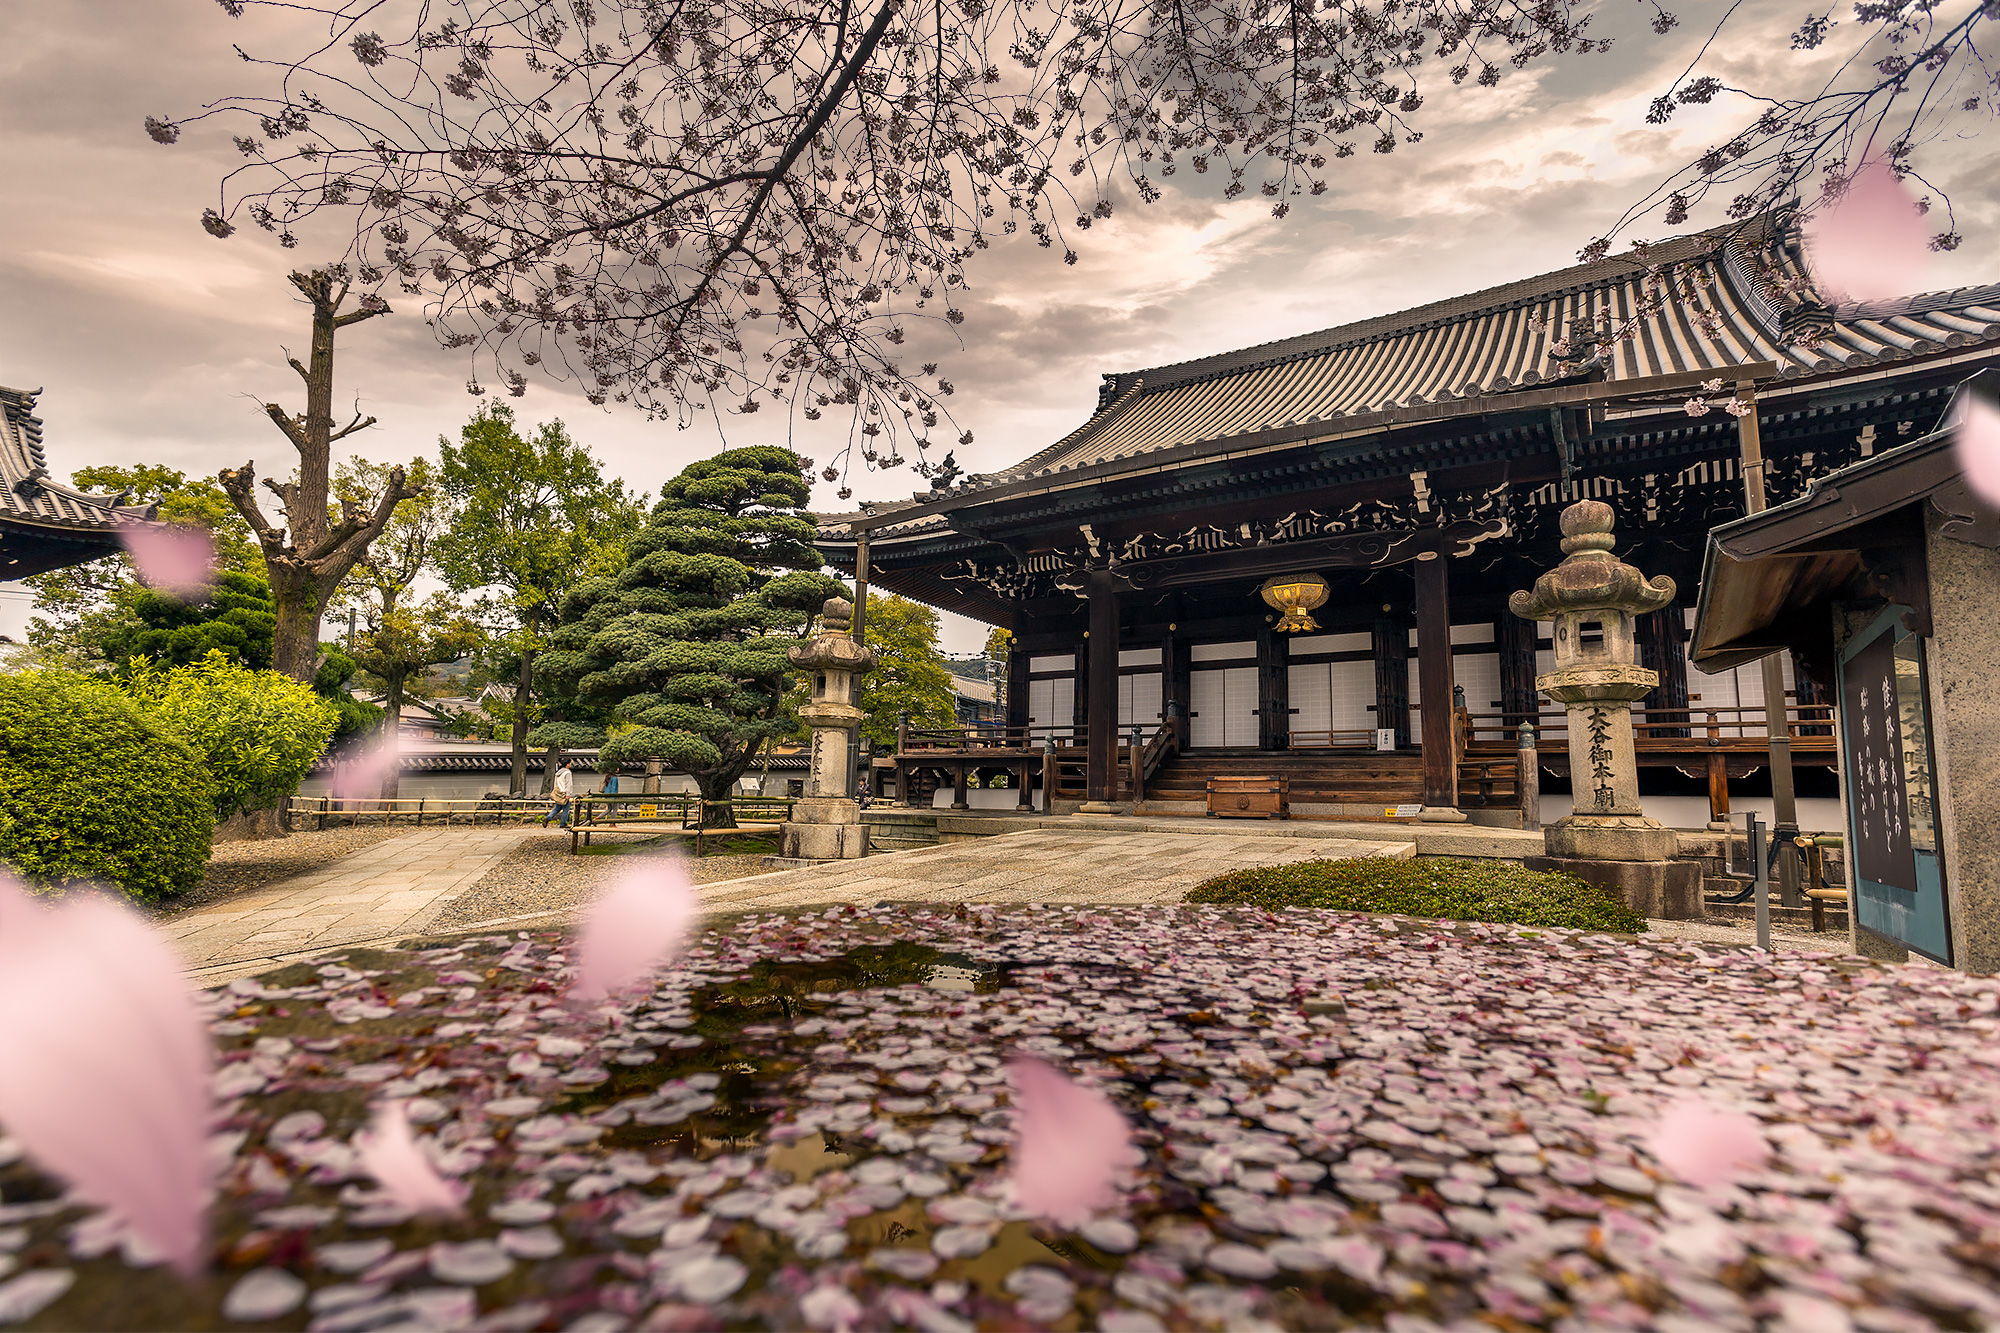
In Kyoto it’s only a few days before the delicate Sakura petals begin to fall
Don’t forget about the Cherry Blossoms!
Probably the busiest time to visit Japan is during the Spring Japanese Cherry Blossom Festival when the vibrant Sakura flowers begin to bloom; covering a large parts of Japan in a blanket of colourful flowers. Witnessing these flowers in person is nothing short of magical and you have to see them at least once during your travels to Japan. These iconic Cherry Blossoms begin to bloom from late March, through to mid-April. Depending on the weather, they can sometimes bloom in early May. The trees bloom for a very short time, so to avoid disappointment, I highly recommend looking up a Cherry Blossom calendar so you can align your travels accordingly. They also make for some incredible photography. If you have a macro lens handy, you can get quite creative with your photos. The Spring Festival is known to bring Japanese friends and families together for food, drink and songs while these flowers bloom. You’ll see groups of people gathered under the Sakura trees drinking Japanese tea and eating food throughout the day into the evening. It really is quite a spectacle!
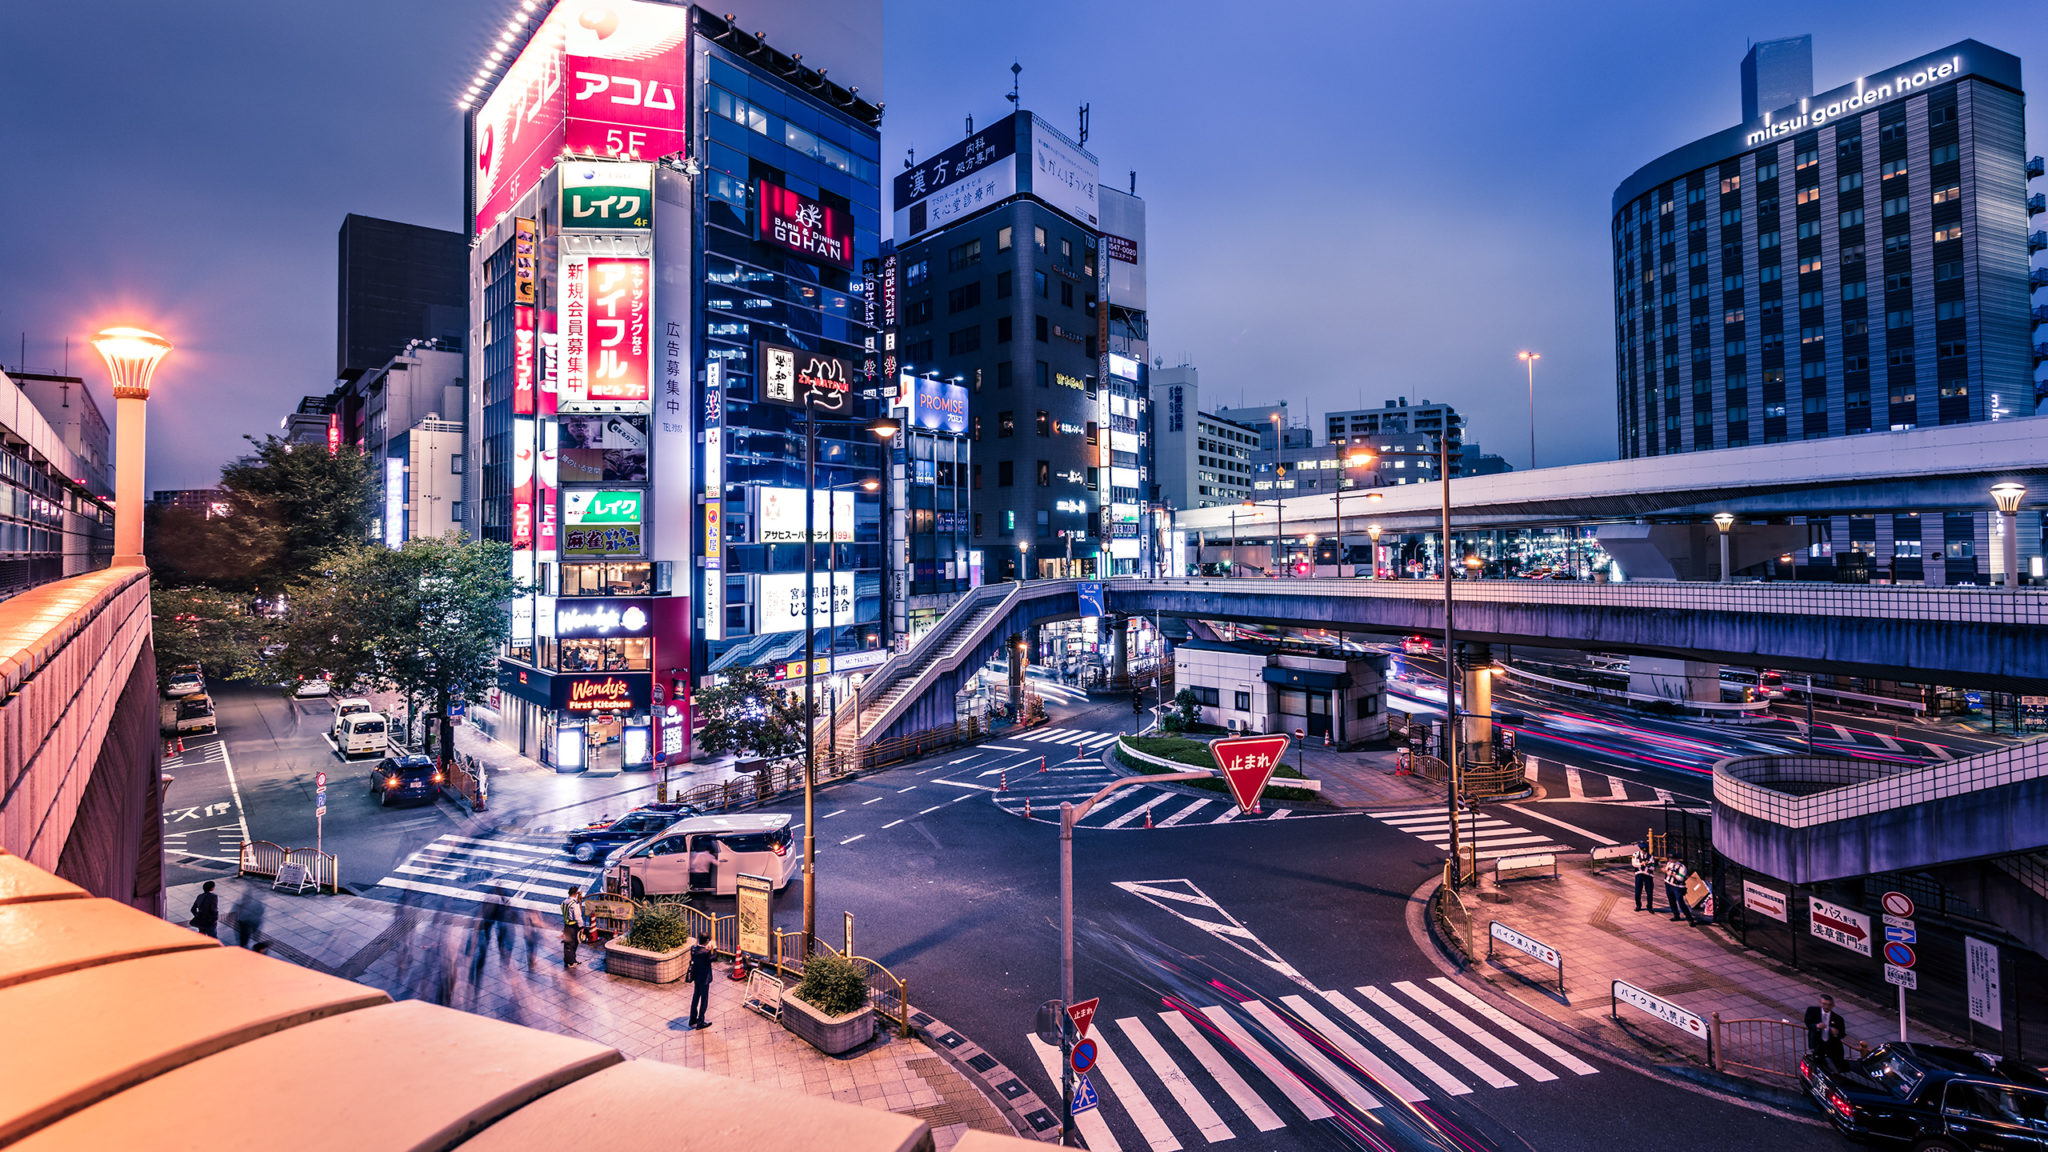
Ueno City is another place worth visiting in Tokyo, particularly Ueno Park
Camera and Equipment Insurance
Some of your equipment may be covered with general travel insurance however for peace of mind, I insure all of my equipment through AON Camera Insurance. You can read more about it on the Canon Website here. They offer a solid anytime anywhere policy and you can select the value of your equipment which dictates the premium you pay. An annual fee keeps your equipment insured wherever you go. If you operate your own photography business with an Australian Business Number (ABN) – you can consult with your accountant to see whether you are able to claim this on your tax return.
Tokyo’s Top 5 Photography Spots
This wouldn’t be a photographers guide to Tokyo if we didn’t include 5 of the most well-known photo spots in Tokyo. Some you may know, some you may not.
- Shibuya Crossing – It’s probably the most iconic crossing in the world. It’s been on TV, in movies, and featured in countless photographers albums. That’s not to say you can’t get your own creative photograph. Leverage some of the higher buildings surrounding the crossing for a more interesting angle. There is a Starbucks conveniently located right on the corner of the intersection that you can wander up to and people-watch. You might have to fight for a table though, it’s popular not only with foreigners, but also with the locals.
- Ueno (Ueno City pictured above) – Ueno is another bustling part of Tokyo full of hole-in-the-wall restaurants and bars. You can literally wander for hours exploring different side streets and back alleys; each with their own story to tell. You can capture some great scenes at night here as the neon cityscape makes for a great background.
- Harajuku/Akiba – Harajuku – the ‘kawaii’ capital of Japan. With it’s bright, colourful and vibrant atmosphere, it is a fantastic to spot if you’re interested in the Japanese pop culture scene. You can find plenty of locals (and expats) dressing up in cosplay, most of which will be more than happy to have their photo taken provided you ask politely. Akihabara (also known as Akiba, or Electric Town) is your gateway to a technological paradise. You’ll find an array of interesting photo opportunities here with it’s towering buildings, techy buildings and stores littered with collectibles, games and arcades.
- Ginza – The higher end area in Tokyo and home to fine dining and lavish shopping malls; a perfect spot to capture some of the more modern architecture and buildings in Tokyo.
- Asakusa – You may have heard of the infamous Sensō-ji Buddhist temple which sits proudly in the heart of Asakusa. The Kaminarimon Gate which welcomes you to the Asakusa temple is very crowded and was recently undergoing renovations (covered by a large graphical sheet). Usually packed with tourists, if you want to photograph this entrance with a smaller crowd, it’s best to visit later in the afternoon once the stores and souvenir shops have closed.
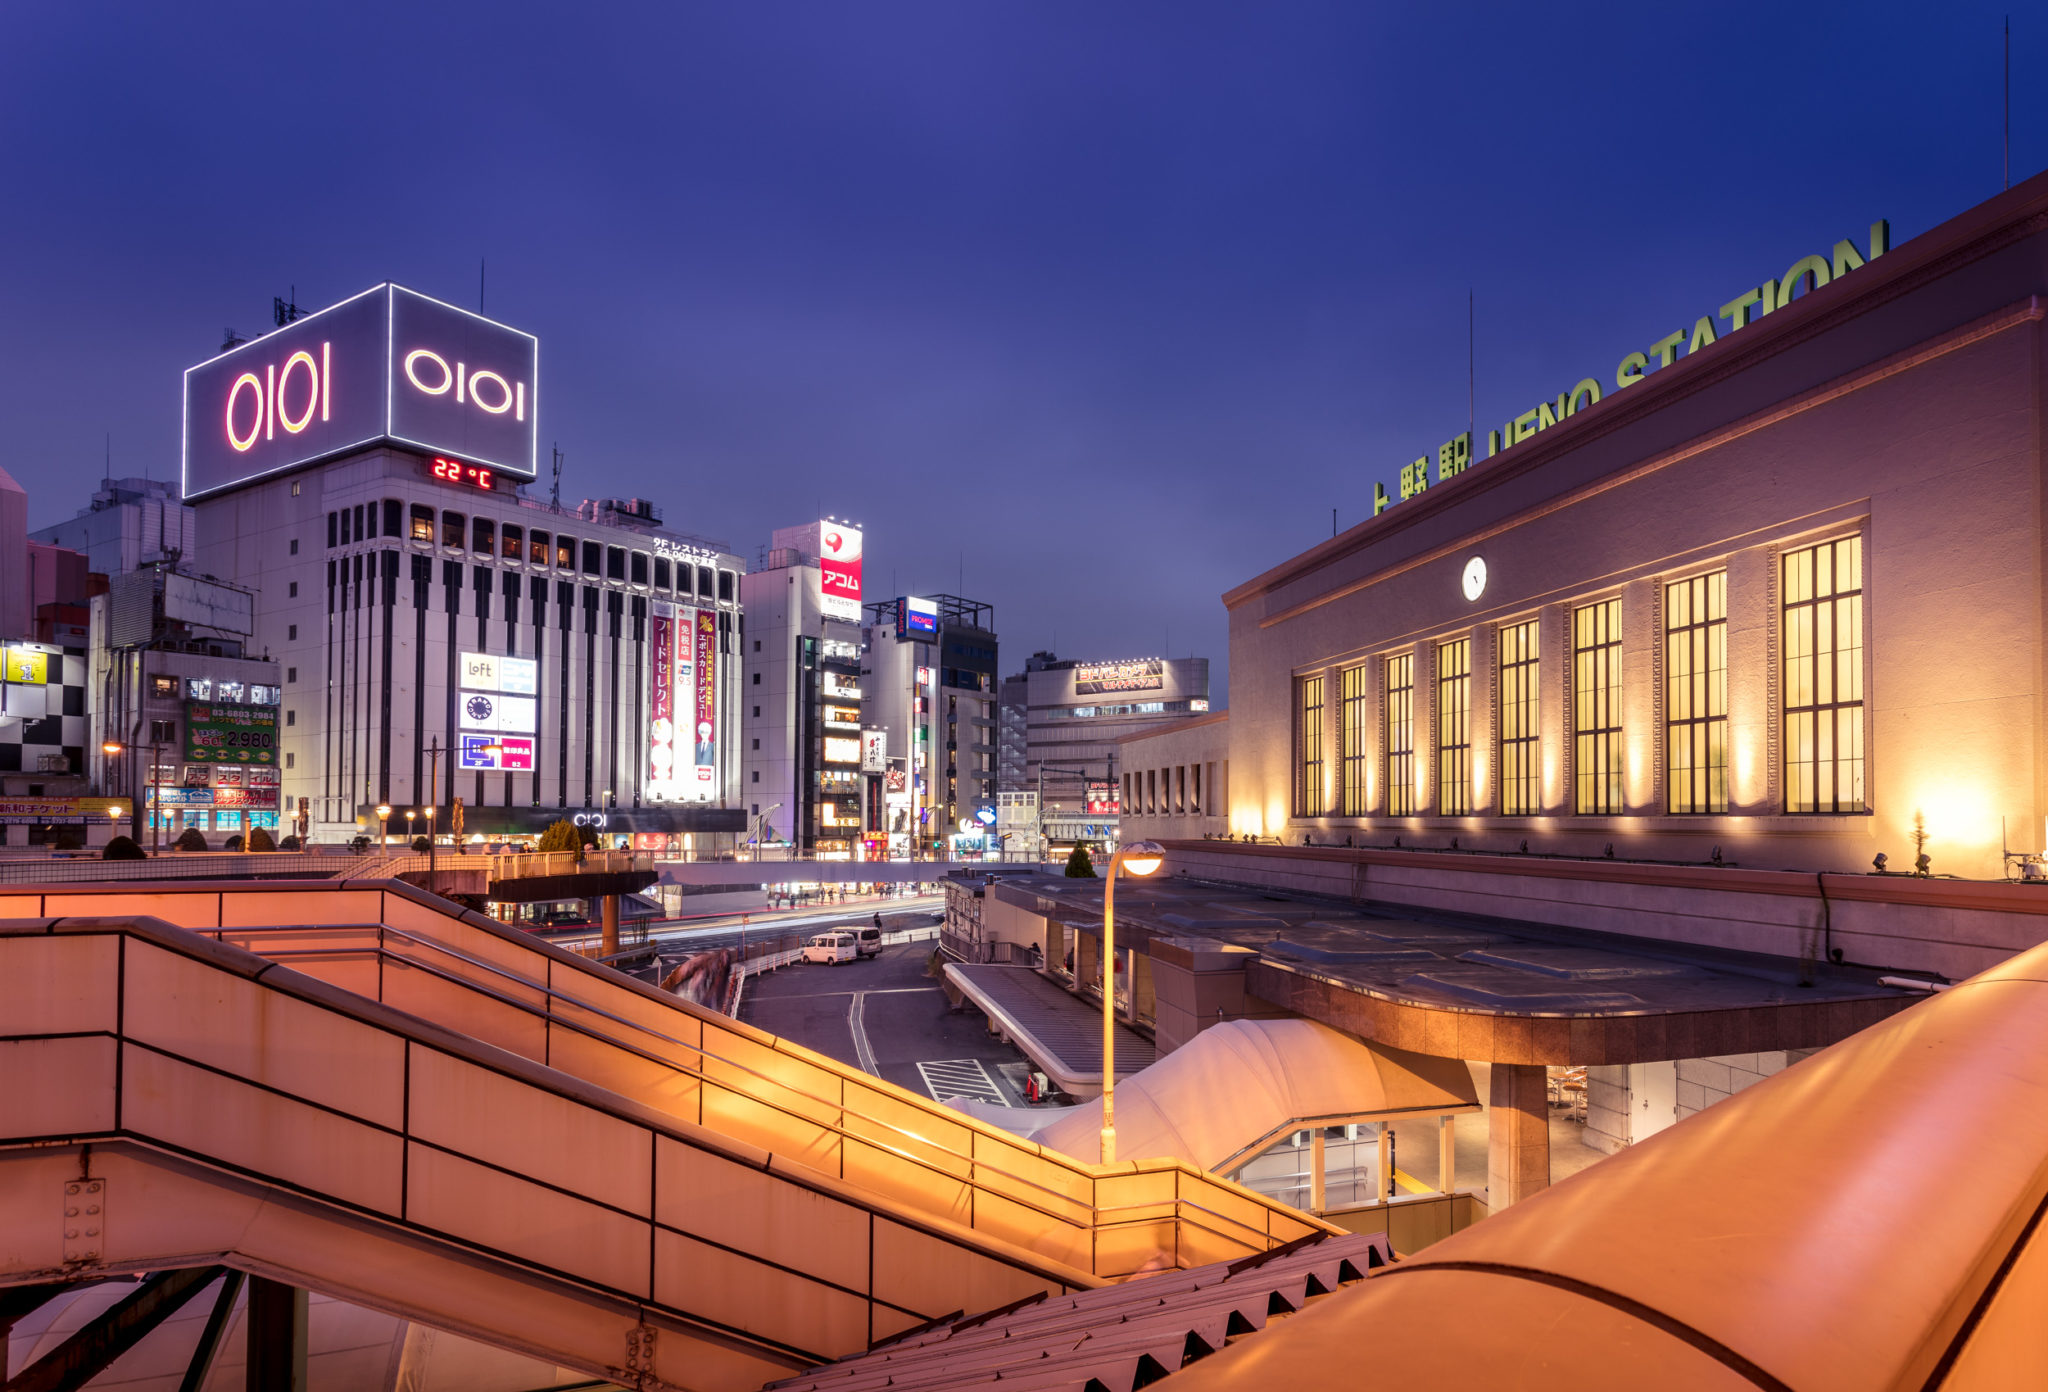
Look for interesting shapes and angles you can use to frame your photos.
Stay Connected in Japan
Fortunately its relatively easy to stay connected in Japan. There is free Wi-Fi in almost all of the main areas. You may need to visit the tourist information centre with your passport to gain access. Another option is to visit a convenience store and purchase a prepaid SIM card loaded with a certain amount of bandwidth. I purchased 3GB which lasted me a week with moderate internet usage. If you run out of data, you can just recharge whenever you need to by following the instructions included with the SIM card.
In addition to this photographers guide to Tokyo, Have a read of this article for some suggestions on which prepaid SIM card to buy based on your needs.
Get Photographing
There are also a couple of apps available on both Android and iOS that might come in handy during your travels. Japan Wi-Fi and Japan Official Travel Guide are both great apps that offer a variety of information from maps, Wi-Fi hotspots and other information for visitors. There’s so much to talk about when visiting Japan, especially from the perspective of a photographer. I hope that this photographers guide to Tokyo has provided some useful information for your next trip.
Have I missed something you would have liked to have read about? I would love to hear about your travels to Japan, perhaps you have your own photography tips, or locations you want to share for people visiting the country. Be sure to leave a comment below.



3 Comments
Wow, you have some absolutely beautiful photos of Japan. Your guide is also very helpful and comprehensive. I look forward to my trip to Japan next year! Thanks Blake
What an absolute cutie
Thanks 😉